
Best Maps for Each Game Mode in Brawl Stars (2026)
To win consistently in Brawl Stars in 2026, you’ll need to match your brawler to the right map for each mode. Snake Prairie suits Mortis in Showdown, while Gem Fort and Hard Rock Mine work well for Gem Grab. Brawl Ball maps like Center Stage reward burst pushes, and Heist maps like Skull Creek offer dual attack lanes. Keep exploring to discover every mode’s best map pairings.
Key Takeaways

- In Showdown, Mortis excels on Snake Prairie (62.1% win rate) and Piper dominates Open Season with a 59.4% win rate.
- Gem Grab favors Hank on maps like Gem Fort and Hard Rock Mine, boasting an impressive 80% win rate.
- Brawl Ball maps like Center Stage and Sneaky Fields reward burst pushes, brush control, and strategic central positioning.
- Heist maps like Safe-Pheasant and Skull Creek offer strong attack routes, with win rates reaching up to 70%.
- Knockout maps like Out in the Open and EV Gold Arm Gulch favor ranged brawlers controlling sightlines and high ground.
Which Game Mode Has the Highest Win Rates?

Win rates in Brawl Stars vary dramatically depending on which game mode you’re playing, so understanding these differences can sharpen your Brawler selection strategy. Solo Showdown consistently produces lower win rates due to heightened competition, with Alli leading the mode at just 53%. Team-based modes like Bounty and Knockout tend to generate stronger numbers, where Sprout dominates as a top pick.
Brawl Ball shows the widest performance gap, with win rates ranging from 47% to 60% depending on your Brawler choice on maps like Singed Earth. Meanwhile, the overall meta favors Brawlers like Juju, who holds an impressive 70.99% win rate across all modes. Lumi and Lola also maintain above 70%, making them reliable picks regardless of mode.
If you’re chasing consistent wins, prioritizing team-based modes with proven picks gives you a measurable advantage over the unpredictable nature of Showdown. In modes like Gem Grab, designating a dedicated gem carrier while teammates focus on control is a proven strategy that directly improves your team’s chances of victory.
How to Match Your Brawler to the Right Map

Matching your Brawler to the right map is one of the most impactful decisions you’ll make in Brawl Stars. Open maps favor long-range Brawlers with clear sightlines, while enclosed maps reward close-range Brawlers that use cover effectively.
Consider your game mode too. Gem Grab needs burst damage and crowd control, while Bounty rewards consistent long-range output. Hot Zone demands area-of-effect abilities for sustained zoning, and Knockout favors Brawlers built for one-versus-one dueling.
Each mode demands a different kit — burst for Gem Grab, range for Bounty, zoning for Hot Zone, dueling for Knockout.
Map features matter just as much as mode. Flank routes create openings for mobile Brawlers, and high wall density benefits Brawlers like Ruffs on maps such as Hard Rock Mine. Multi-lane maps require Brawlers that can pressure several areas simultaneously.
When you align your Brawler’s kit with the map’s structure and mode requirements, you’ll consistently perform better. Check the current rotation and adjust your picks accordingly before each match. In Heist, prioritize Brawlers with high burst damage to break the enemy safe before time expires.
Best Showdown Maps for Solo and Duo Play
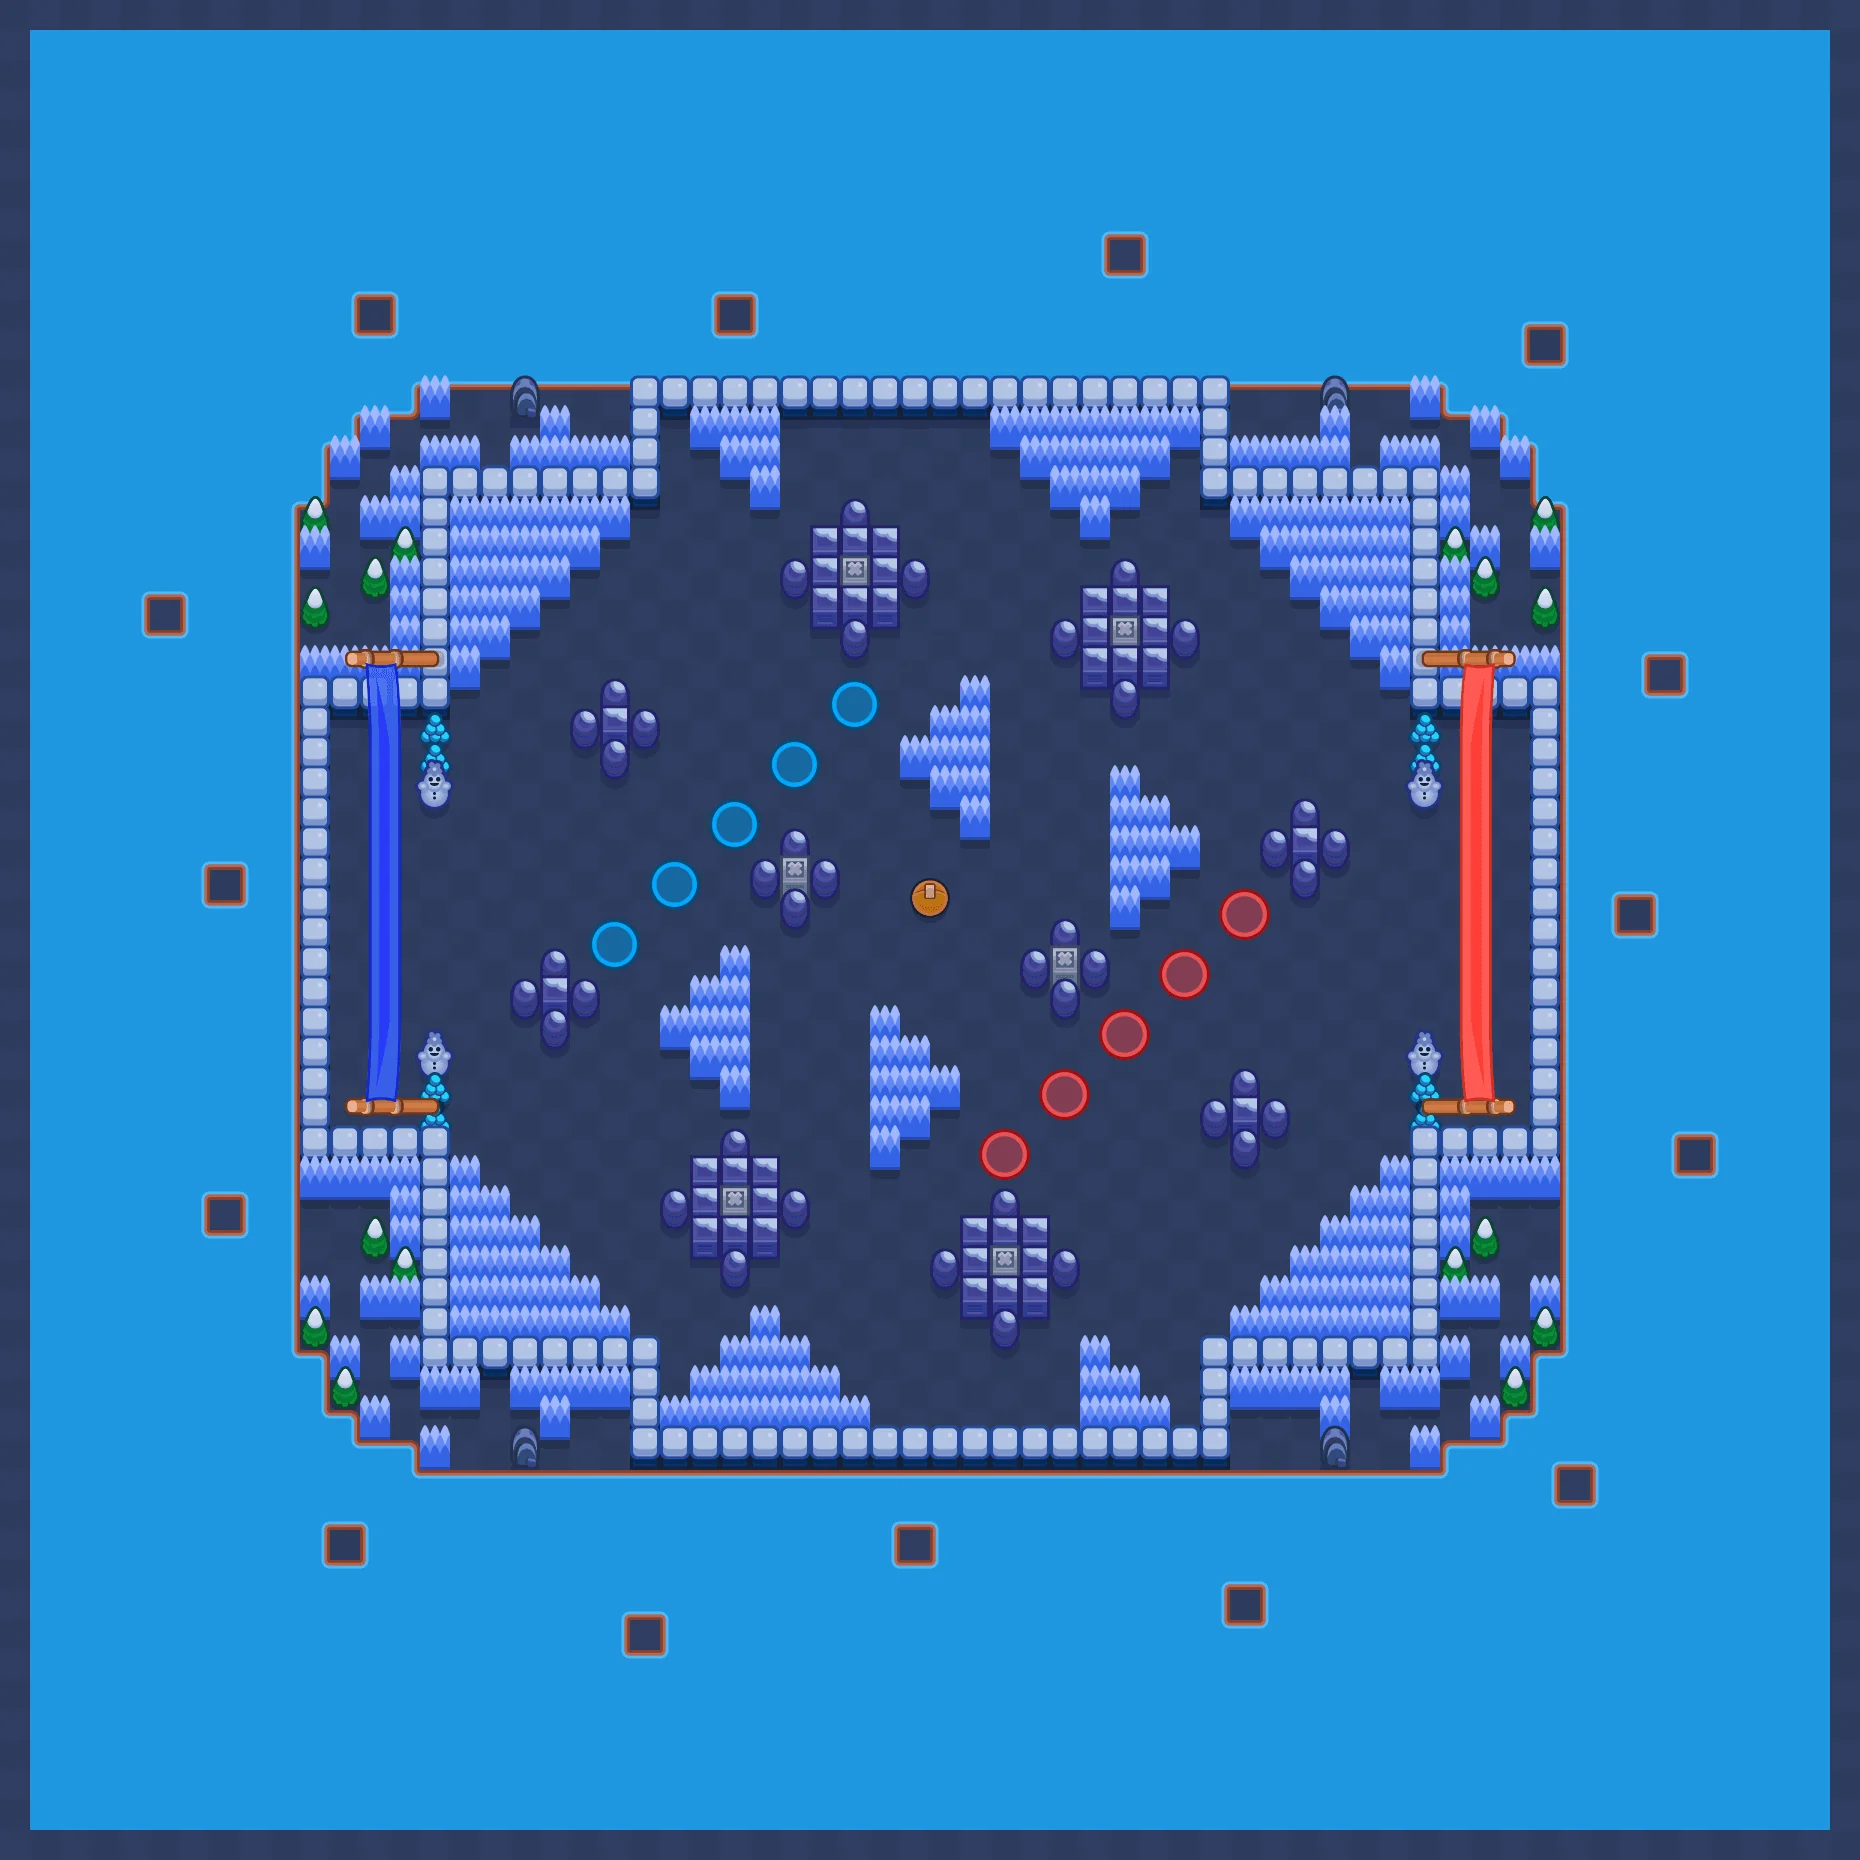
Showdown separates strong Brawlers from great ones by demanding map-specific decision-making in both Solo and Duo formats. In Solo, you’ll want to run Mortis on Snake Prairie, where his 62.1% win rate reflects how well he dominates tight chokepoints. Piper thrives on Open Season‘s long sightlines at 59.4%, while Crow’s 60.3% win rate on Out in the Open rewards his poison-heavy playstyle near water hazards.
For Duo, your best options cluster around high-mobility and lane-heavy maps. Lola dominates Ring of Doom at 63.2%, making her the top Duo pick alongside her 12.9% pick rate. Edgar follows closely at 62.4% on Rockwall Brawl, excelling in bush-heavy, high-mobility environments. Surge leads Canal Grande at 61.5%, capitalizing on central power cube control.
Whether you’re playing Solo or Duo, matching your Brawler to the right map is what pushes your win rate past 60%. Reviewing detailed map statistics based on millions of real battles can help you identify which Brawlers are performing best on any given Showdown map before you queue up.
Gem Grab Maps Where Win Rates Reach 70

Gem Grab pushes win rates into territory that Showdown rarely touches, and the Stacking Map is where you’ll see the most extreme numbers. Analyzed from 10,000 players’ battle data, the top brawlers hit benchmarks that most modes can’t match. Here’s what you’re working with:
- Hank leads at 80% win rate with a 0.2% use rate
- Berry follows at 77% win rate with a 0.5% use rate
- Glowbert holds 70% win rate with a 1.3% use rate
- Gem Fort, Hard Rock Mine, and Undermine round out the strongest Gem Grab map pool
These numbers reflect ranked performance across the top 200 players worldwide. The low use rates on Hank and Berry suggest most players aren’t capitalizing on these picks. If you’re climbing ranked, that’s your edge. On this map, NAJIA stands out as a Winners category pick with an 81% win rate despite only a 0.7% use rate.
Brawl Ball Maps That Balance Scoring and Defense

Brawl Ball maps split your attention between pushing for goals and holding your position, and three maps stand out for how well they test both sides of that equation: Center Stage, Sneaky Fields, and Triple Dribble.
Each map demands a different mix of aggression and restraint, so knowing what you’re walking into changes how you draft and rotate.
| Map | Offensive Strength | Defensive Strength |
|---|---|---|
| Center Stage | Open lanes reward burst pushes | Central positioning neutralizes threats |
| Sneaky Fields | Bush coverage creates scoring angles | Brush control denies enemy advances |
| Triple Dribble | Long corridors accelerate fast breaks | Choke points slow ball carriers effectively |
You’ll notice each map rewards one playstyle slightly more, but none completely abandons the other. Center Stage punishes passive teams hardest, Sneaky Fields rewards vision control, and Triple Dribble favors brawlers who can both hold ground and sprint when the opportunity opens. Brawlers like Sprout and Mr. P excel on these maps by using their area-denial Supers to slow ball carriers and lock down key corridors near the goal.
Hot Zone Maps Where Capture Rates Are Highest
Hot Zone flips the script on elimination-focused modes by rewarding sustained presence over kills, and certain maps push that capture dynamic further than others. Capture progress ticks every half-second per Brawler you place in a zone, so stacking your team in the right spots compounds your advantage fast.
Four maps currently stand out for maximizing capture rates:
- Ring of Fire – demands tight team coordination since solo rushers get isolated easily
- Open Business – rewards strategic bans and smart Brawler selection
- Dueling Beetles – consistently highlighted in ranked cheat sheets for ideal picks
- Parallel Plays – favored in pro tier lists for multi-zone occupation potential
Bounty Maps That Reward Long-Range Brawlers
While zone control rewards tight clustering, Bounty flips the incentive entirely — you’re punished for grouping up and rewarded for holding distance. These four maps consistently favor long-range brawlers and punish anyone rushing in blind.
Dry Season strips away cover, leaving snipers free to dominate open sightlines. It’s the cleanest map for pure sniper compositions.
Hideout balances cover with poking lanes, letting snipers lock down central areas while Rico benefits from wall interactions.
Layer Cake’s multi-level design lets long-range brawlers zone from elevation, punishing low-ground pushers with high-damage projectiles before they close the gap.
Shooting Star amplifies range advantages across vast open spaces, where Rico’s bouncing attacks pierce across the map and sustained damage output wins fights consistently.
On all four maps, Hank, Sam, Draco, Clancy, and Lumi post win rates between 73–76%, confirming that range dominates Bounty when you draft correctly.
Heist Maps With the Strongest Attack Routes
When you’re playing Heist, knowing which maps offer the strongest attack routes can make or break your win rate. Certain maps funnel attackers directly to the safe with minimal cover for defenders, giving aggressive compositions a massive advantage. You’ll want to prioritize these high win-rate picks when selecting your brawlers and planning your push strategy.
Top Attack Route Maps
Heist mode’s strongest maps are defined by their attack routes — the paths that let you pressure the enemy safe through walls, bushes, and direct lanes. In 2026 rotations, four maps consistently deliver the highest attacker advantages:
- Safe-Pheasant — Narrow corridors give you 70% super control, while flanking bushes support a 62% Squeak pick rate.
- Skull Creek — Dual attack lanes split defenders, boosting your success rate to 64%.
- Drilling Run — Single-file tunnels force enemy commits, generating 68% route control potential.
- Elevator Madness — Multi-level drops create 66% surprise attack opportunities through vertical flanking.
Maps with multi-layer walls reduce defender vision by 15%, so prioritize routes that break wall cover early.
High Win Rate Picks
Attack routes only matter if the map’s layout actually puts them to work, and that’s where win rates separate theory from results. Hot Potato leads with a 65.4% adjusted win rate, rewarding assassins like Edgar who exploit its wall-heavy chokepoints. Kaboom Canyon follows, where Spike’s area denial pushes win rates past 64% along controlled approach lanes. Diamond Dome hits 63.7% for mobility brawlers like Stu, who use side routes to bypass defenses entirely. G.G. Mortuary’s compact layout gives Rico and Fang a 62.8% win rate through direct frontal pressure and gadget synergies. Safe Zone rounds out the list at 61.5%, where Chuck and Janet thrive on flanking routes amplified by hypercharge boosts. Each map rewards brawlers who match its geometry precisely.
Knockout Maps With the Best Survival Angles
Knockout maps reward smart positioning, and the five below stand out for giving you reliable survival angles that can change the outcome of a match.
Close Call’s fences and bush strips let you poke safely from covered angles without overextending. Out in the Open rewards ranged brawlers who use peripheral bushes to control sightlines during late-round pressure.
For more structured survival play, these maps offer distinct advantages:
- EV Gold Arm Gulch – High ground and rock formations give Frank strong poke access and defensive retreats.
- Hard Lane – Rico’s bounce angles and Ruffs’ easy hits make fallback positioning more forgiving.
- Safe Zone – Over-water shots and high elevation let you shred distant targets while staying protected.
Each map punishes reckless movement, so you’ll need to read cover placement quickly and commit to angles before opponents collapse on your position.
Best Maps for Fast Trophy Gains by Mode
Five game modes offer distinct trophy-pushing opportunities, but Heist stands out as the fastest overall due to its short match durations and quick, decisive outcomes. Maps like Bridge Too Far and Diamond Dome are your best bets here, especially with maxed brawlers and hypercharges active.
In Gem Grab, bushy maps like Acute Angle and Ahead of the Curve reward tank brawlers like Rose, making each match efficient. Hot Zone maps like Abracadabra and Bejeweled favor aggressive zone control, where timeout completions consistently secure wins.
For Showdown, bush camping in Solo mode guarantees top-four finishes, and the Showdown Plus rotation works well for lower-trophy brawlers. Brawl Ball rewards brawlers like Mortis on enclosed maps, especially during win streaks or Trophy Rush periods.
Across all modes, you’ll push faster by matching meta brawlers to current map rotations and avoiding mismatched combinations that hurt your win rate.
Frequently Asked Questions
Which Maps Are Best Suited for Beginners Learning Competitive Brawl Stars Modes?
You’ll excel on open maps like “Out in the Open,” Knockout’s consistent objectives, and Heist’s stationary safe. These minimize fog-of-war complexity, letting you focus on aiming and positioning fundamentals effectively.
Can the Same Brawler Excel Across Multiple Game Modes and Map Types?
Yes, you’ll find that certain brawlers can absolutely dominate multiple game modes and map types. Rico, Ruffs, and others consistently hit win rates above 65% across Heist, Hot Zone, Bounty, and Gem Grab simultaneously.
How Frequently Does Brawl Stars Update Its Active Map Rotation Schedules?
You’ll see Brawl Stars update its active map rotation schedules with each new season and event cycle. Rotations shift alongside competitive phases, with some maps absent over 30 days, while seasonal updates introduce fresh maps like Spiraling Out and Beach Ball.
Do Environmental Hazards Affect Power Cube Spawning Locations in Showdown Matches?
Yes, environmental hazards do influence where you’ll find Power Cube boxes. On Trap Map, spikes and poison gas surround cube locations, while Grassy Gorge places cubes near lakes and S-shaped bushes for strategic positioning.
Which Game Modes Offer the Fastest Progression for Unlocking New Brawlers?
You’ll progress fastest by grinding Showdown for Power Cubes, Gem Grab’s Double Swoosh for chip damage efficiency, and Ranked Brawl Ball’s Triple Dribble, as these modes deliver the highest win rates and quickest resource accumulation.
Conclusion
You’ve now got a clear picture of which maps give you the biggest edge in every mode. Whether you’re grinding trophies in Showdown or locking down objectives in Gem Grab, matching your brawler to the right map is what separates good players from great ones. Don’t waste matches on unfavorable terrain—use these insights to pick smarter, push harder, and climb the leaderboard faster in 2026.
