
Lola Brawl Stars: Complete Guide, Best Build and Tips (2026)
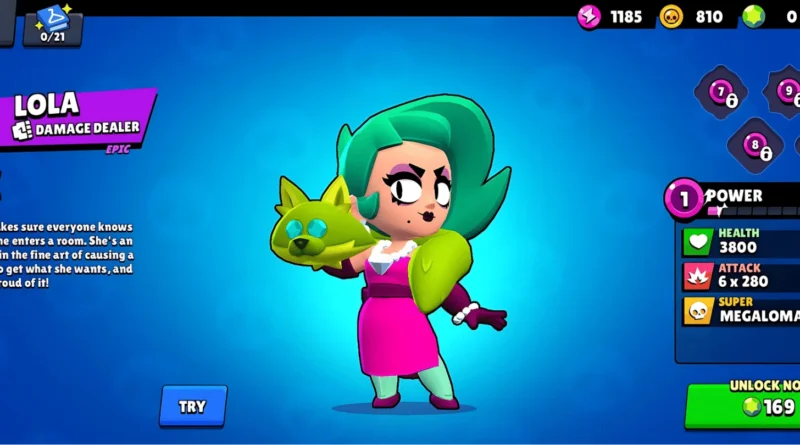
Lola’s Ego clone makes her one of Brawl Stars’ most unique brawlers by splitting enemy attention across two fronts. You’ll want to run Stunt Double as your gadget, Improvise as your Star Power, and Reload Speed as your primary gear. She deals up to 2,352 damage per attack and moves at 720 units per second. Master her positioning and Super timing, and everything else about dominating with Lola starts to click into place.
Key Takeaways
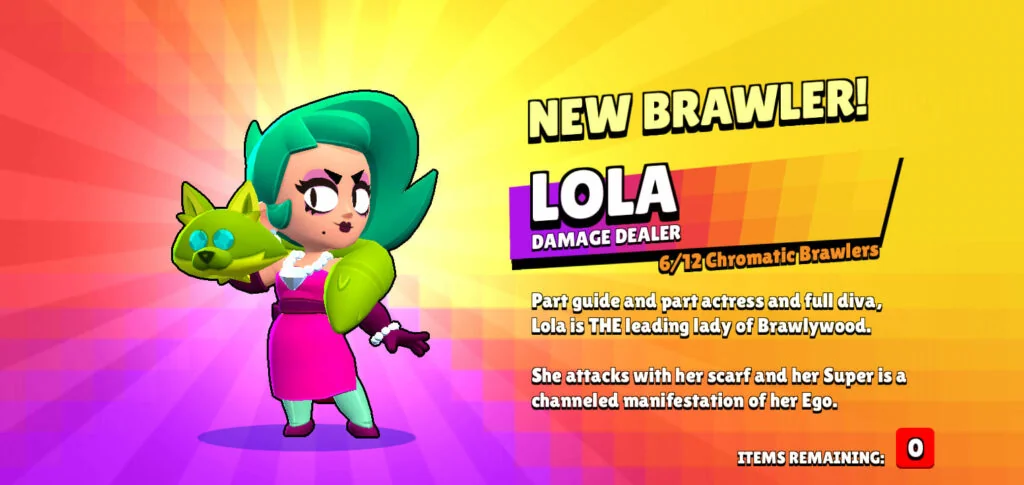
- Lola’s Ego clone mirrors her attacks, carries half her health, and forces enemies to split attention, multiplying map pressure effectively.
- The best gadget is Stunt Double, allowing instant position swaps with Ego while recovering 1,520 health during aggressive engagements.
- Improvise is the top Star Power, boosting attack damage when one ammo remains, making it ideal for DPS-focused playstyles.
- Reload Speed Gear appears in 41% of builds, compensating for Lola’s slow reload and maintaining consistent offensive pressure.
- Maximize Ego’s value by combining Freeze Frame, Damage Gear, and Improvise for crowd control and high finishing-blow damage output.
How Lola’s Ego Clone Sets Her Apart From Other Brawlers
Lola’s Ego clone is unlike anything you’ll find in another brawler’s kit — it mirrors her movements and attacks in the same direction, deals identical damage, and shares her attack range, making every push feel like a coordinated two-woman assault. That said, Ego isn’t without drawbacks. It carries only half Lola’s health, moves slightly slower, and deals 50% less damage within a 3.33-tile radius of her. It also can’t collect Gems, score Hot Zone points, or pick up items like siege bolts.
What makes Ego genuinely unique is how it multiplies your threat across the map. You’re not just doubling your damage output — you’re forcing opponents to split their attention between two targets occupying different positions. Combined with Lola’s gadgets and star powers, Ego becomes a pressure tool most brawlers simply can’t replicate, giving you a tactical edge that rewards smart positioning and aggressive play. When equipped with the Sealed With a Kiss star power, Ego’s projectiles heal allies for 100 health while still dealing damage to enemies.
Lola’s Stats and Attacks Every Player Should Know

To master Lola, you’ll need a solid grasp of her core stats, attacks, and Super. She packs 4,000 health at level 1 and fires six projectiles from her diamond eyes, dealing 392 damage each for a combined 2,352 per attack. Her Super summons an Ego clone that mirrors her attack, giving you both offensive pressure and, with the right Star Power, healing support for your teammates. Her Hypercharge, Inflated Ego, buffs her Super by spawning a mega Ego with increased stats, including a 25% damage boost, 24% speed increase, and 5% shield increase.
Lola’s Core Stats
Understanding Lola’s core stats is the foundation for playing her effectively. She’s an Epic rarity Damage Dealer with a stat distribution of Offense 4, Defense 2, and Utility 3, meaning you’re working with strong damage output but limited durability.
Her health ranges from 3,800 to 8,000 HP depending on power level, placing her in the mid-range alongside brawlers like Nida and Poco. She moves at 720 units per second, a Normal classification that suits her Long attack range of 9 tiles. You’ll want to maintain distance since her Defense rating of 2 makes her vulnerable to burst damage.
Her Super charges at 7% per hit, so consistent attacking keeps her clone available frequently, adding battlefield presence without relying solely on her base health. Her primary weapon, Diamond Eyes, fires short bursts dealing 280 damage per jewel, rewarding accurate, sustained fire to maximize her offensive output.
Attack and Super
Mastering Lola’s attack and Super is what separates average players from those who consistently dominate with her. Her attack fires 6 projectiles at 280 damage each, totaling 1,680 potential damage per shot. With a 15° spread and 4,500 projectile speed, you’ll melt clustered enemies fast. At max level 11, each projectile scales to 560 damage, making her a serious threat at range.
Her Super summons Ego, a clone that mirrors your movement and matches your firepower exactly. That’s double the projectiles hitting simultaneously. Ego charges quickly at 7% per projectile hit, so you’re activating it often. Position Ego aggressively upfront to pressure enemies, or use it defensively to shield teammates. Brawlers like Jessie, Belle, and Penny are particularly effective counters against Ego, so be mindful of enemy team compositions when deciding how to deploy the clone. Either way, keeping Ego active is central to your effectiveness.
The Best Lola Build for Gadget, Star Power, and Gears

For gears, Reload Speed is the top pick at 41% usage. Its 15% faster reload directly addresses Lola’s slower reload, helping you maintain consistent pressure. Damage gear, selected 26% of the time, adds 15% extra Damage below 50% health, turning close fights in your favor when you’re nearly knocked out. The Shield gear provides an extra 900 health as a consumable shield, giving Lola an additional buffer to survive burst damage. Together, these four components cover Lola’s key weaknesses and amplify her strengths.
Stunt Double vs. Freeze Frame: Which Gadget Fits Your Playstyle?

Your choice between Stunt Double and Freeze Frame comes down to whether you prefer mobility or control. Stunt Double lets you instantly swap positions with Ego while recovering 1520 health, making it ideal if you favor aggressive repositioning, surprise attacks, or quick escapes. Freeze Frame, on the other hand, locks Ego in place for 4 seconds with a 50% damage reduction shield, giving you a stationary defensive anchor that keeps dealing damage while you pressure enemies from a fixed zone.
Stunt Double Positioning Benefits
When playing Lola, the Stunt Double gadget lets you summon a clone that distracts tanks and assassins, giving you room to reposition safely. The clone absorbs enemy fire, creating openings for your long-range spread shots while you maintain map control. You can place the clone behind walls to force enemies into kill zones, then use your Super together with the clone to lock down areas and escape pressure.
Against close-range threats, the clone buys you the time you need to slip away without losing ground. You can also lure enemies into unfavorable positions by letting the clone do the work. Whether you’re kiting tanks or dodging assassins, Stunt Double keeps you mobile, threatening, and consistently in control of your positioning throughout the match.
Freeze Frame Control Advantages
While Stunt Double keeps you mobile and evasive, Freeze Frame flips that philosophy entirely, locking Ego in place to control space rather than escape it. Activating it immobilizes Ego for 4 seconds, but you still attack freely while absorbing hits behind a 50% damage reduction shield. That combination turns Ego into an anchor, drawing enemy aggression without folding under it. You’re not retreating; you’re daring opponents to push into your zone while you punish them. It’s especially effective in objective modes where holding ground matters more than repositioning. Only 30% of builds run it, but ranked play splits usage evenly at 50%, suggesting its value rises sharply when coordinated, disciplined play replaces casual aggression. If your strategy is control, Freeze Frame rewards that commitment directly.
Improvise vs. Sealed With a Kiss: Which Star Power Hits Harder?
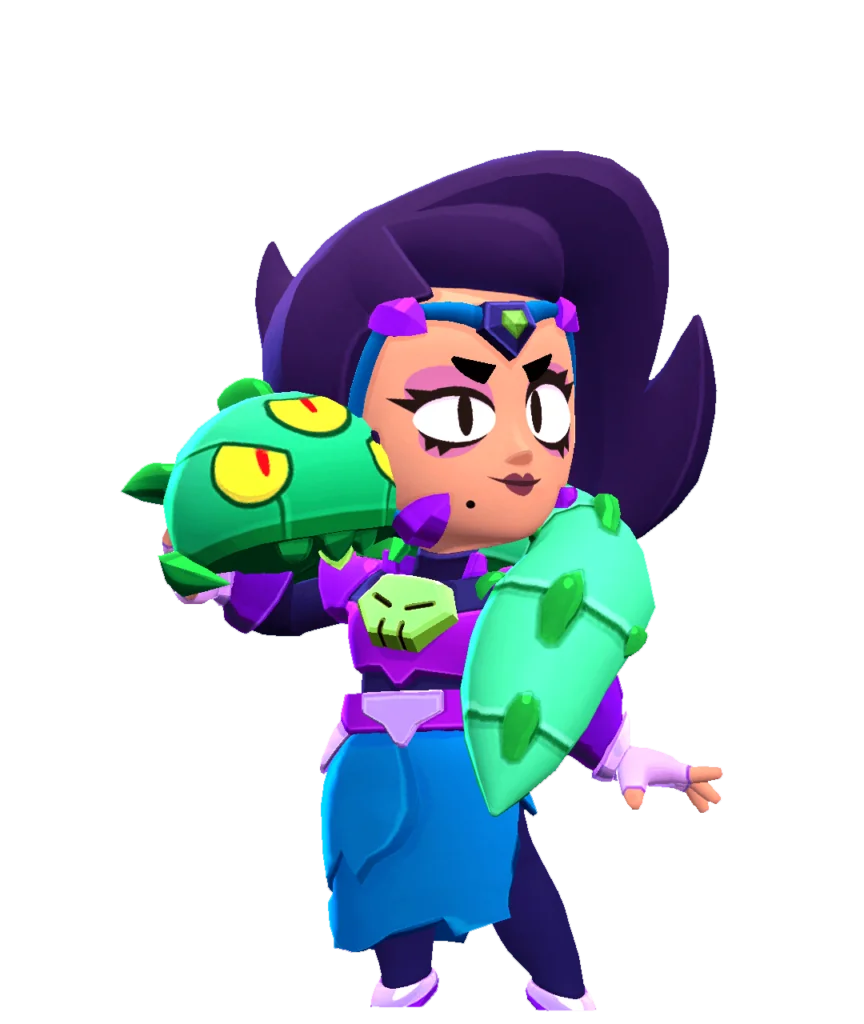
Choosing between Improvise and Sealed With a Kiss comes down to one simple question: do you want raw damage or sustain?
Improvise boosts Lola’s attack damage when only one ammo remains, making it ideal for her DPS-focused playstyle. You’ll hit harder in direct engagements, and it rewards ammo-spamming without requiring complex positioning. It’s the most-used Lola Star Power for good reason — it’s straightforward and effective.
Sealed With a Kiss takes a different approach. Ego’s attack heals Lola and nearby allies for 40% of each jewel’s damage, scaling with Power Levels. With a Hypercharged Ego, you’re looking at 304 healing per projectile. Despite buffs raising healing from 100 to 187 per projectile, the community still considers it too complex for consistent results.
If you’re playing aggressively and need reliable damage output, Improvise is your go-to. Sealed With a Kiss suits niche team-healing scenarios but rarely outperforms Improvise in practice.
Best Lola Builds for Gem Grab, Heist, and Ranked Mode

Now that you know which Star Power fits your playstyle, pairing it with the right gadget and gear setup makes all the difference across game modes. Across Gem Grab, Heist, and Ranked, Stunt Double dominates at 70% usage, letting you swap with Ego for safe engages and recover 1,520 health mid-fight.
For Gem Grab, Stunt Double keeps you alive near the mine while you pressure gem carriers. In Heist, use it to reposition aggressively during safe attacks without overcommitting. In Ranked, it gives you the versatility needed for clutch plays across unpredictable maps.
For gears, Reload Speed appears in 41% of builds, compensating for Lola’s naturally slow reload so you land more hits consistently. Damage gear at 26% activates below 50% health, helping you finish duels in close-range ranked fights. Run both together to cover Lola’s weaknesses across all three modes.
Five Ways to Get More Value From Lola’s Ego in Every Match

Getting five simple habits right turns Lola’s Ego from a passive distraction into a match-winning tool. First, deploy Ego to distract enemies while you exploit your Improvise Star Power‘s 30% last-round damage spike against vulnerable targets. Second, use the Stunt Double gadget during low health to swap positions with Ego, recovering up to 1,600 health and escaping danger instantly. Third, equip Reload Speed Gear to reload 15% faster, letting you fire more shots while Ego draws attention. Fourth, activate Freeze Frame after your Super lands to freeze grouped enemies, then follow up with focused damage during the Ego phase. Fifth, combine Damage Gear with Improvise so that when you’re below 50% health, you’re hitting for a stacked 45% bonus on your final round. Run these habits together consistently, and Ego stops being a throwaway mechanic and starts deciding team fights.
Frequently Asked Questions

What Trophy Range Is Recommended Before Using Lola in Ranked Matches?
You should aim for 800–999 trophies (Mythic 1–10) before using Lola in ranked matches, though the guide’s build targets reaching 1,000 trophies on her for peak performance.
How Does Lola Perform Against Tanks Compared to Other Mythic Brawlers?
You’ll find Lola outperforms most mythic brawlers against tanks, as her high damage output, clone, and Improvise star power let her shred tanks faster than single-body mythics like Colt or 8-Bit.
Is Lola a Good Choice for Beginners Learning Brawl Stars?
You’ll find Lola’s a solid beginner choice. Her long range keeps you safe, Ego distracts enemies, and she performs well across most modes, though her slow reload requires careful ammo management to master effectively.
What Is the Fastest Way to Unlock Lola in Brawl Stars?
Your fastest way to access Lola is by purchasing the Brawl Pass for Season 9: Brawlywood, where she’s guaranteed at Tier 30. If you’re free-to-play, keep opening Brawl Mega Crates consistently, though it’ll take longer.
How Often Does Lola Receive Balance Updates or Stat Changes?
You’ll find Lola doesn’t receive frequent balance changes. She gets occasional tweaks during monthly maintenance updates or seasonal releases, with recent 2026 changes focusing mainly on fixing Hypercharge exploits rather than direct stat adjustments.
Conclusion
You’ve now got everything you need to dominate with Lola in Brawl Stars. Whether you’re running her best build for Gem Grab or maximizing her Ego clone’s pressure in Ranked Mode, it all comes down to smart positioning and timing. Pick the gadget and Star Power that match your playstyle, practice those clone setups, and you’ll consistently outplay opponents who underestimate her. Now get out there and put on a show.
