
Ruffs Brawl Stars: Complete Guide, Best Build and Tips (2026)
Ruffs is a robotic ranged brawler who excels at lane control, team buffing, and sustained pressure in 2026. You’ll want to run Air Superiority with the Take Cover gadget, paired with Shield and Damage gears for the best results. His double-barrel lasers and Supply Drop super make him a consistent A-tier pick, especially on wall-heavy maps. Keep going to discover everything you need to master him completely.
Key Takeaways
- Ruffs’ best build uses Air Superiority star power, Take Cover gadget, and Shield plus Damage gears for balanced offense and defense.
- His dual lasers bounce off walls independently, penetrate cover, and extend effective range by 1.67 tiles for consistent pressure.
- Ruffs excels in enclosed, wall-heavy maps like Cavern Churn and bush-covered maps like Sneaky Fields for maximum effectiveness.
- Supply Drop should target high-traffic choke points, grouped enemies, and allied collection zones to maximize knockback and power-up benefits.
- Prioritize unlocking Hypercharge at Power Level 11, as it significantly boosts performance, supported by a recent 10% projectile speed buff.
- Supercell designed Colonel Ruffs as a military-themed canine character whose supply drop super, double-barrel laser attack, and sandbag gadget all reflect the same strategic field commander identity — making him one of the most thematically cohesive and mechanically unique multiplayer brawlers in the arena roster.
Colonel Ruffs: Character Overview and Skins
Ruffs Character Lore and Identity
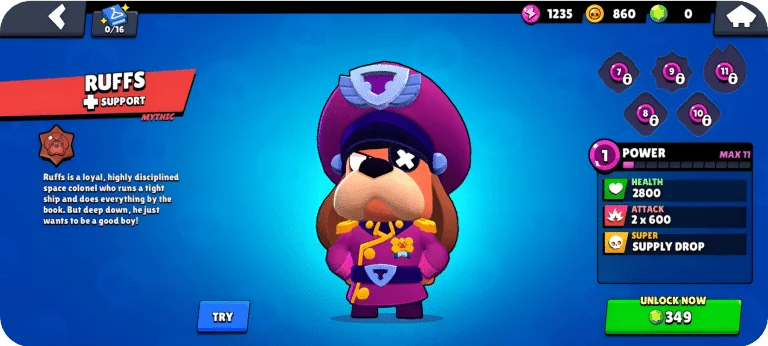
Colonel Ruffs is a Mythic-rarity ranged brawler introduced to Brawl Stars as part of the Star Park season content. His character design is built around a military field commander concept — a robotic canine colonel whose entire kit reflects the logistics and strategy of battlefield support. The colonel title in his full name isn’t cosmetic: every ability he has, from the sandbag defensive perimeter to the supply drop power-up delivery, derives from the same field commander identity that Supercell built into his original design brief.
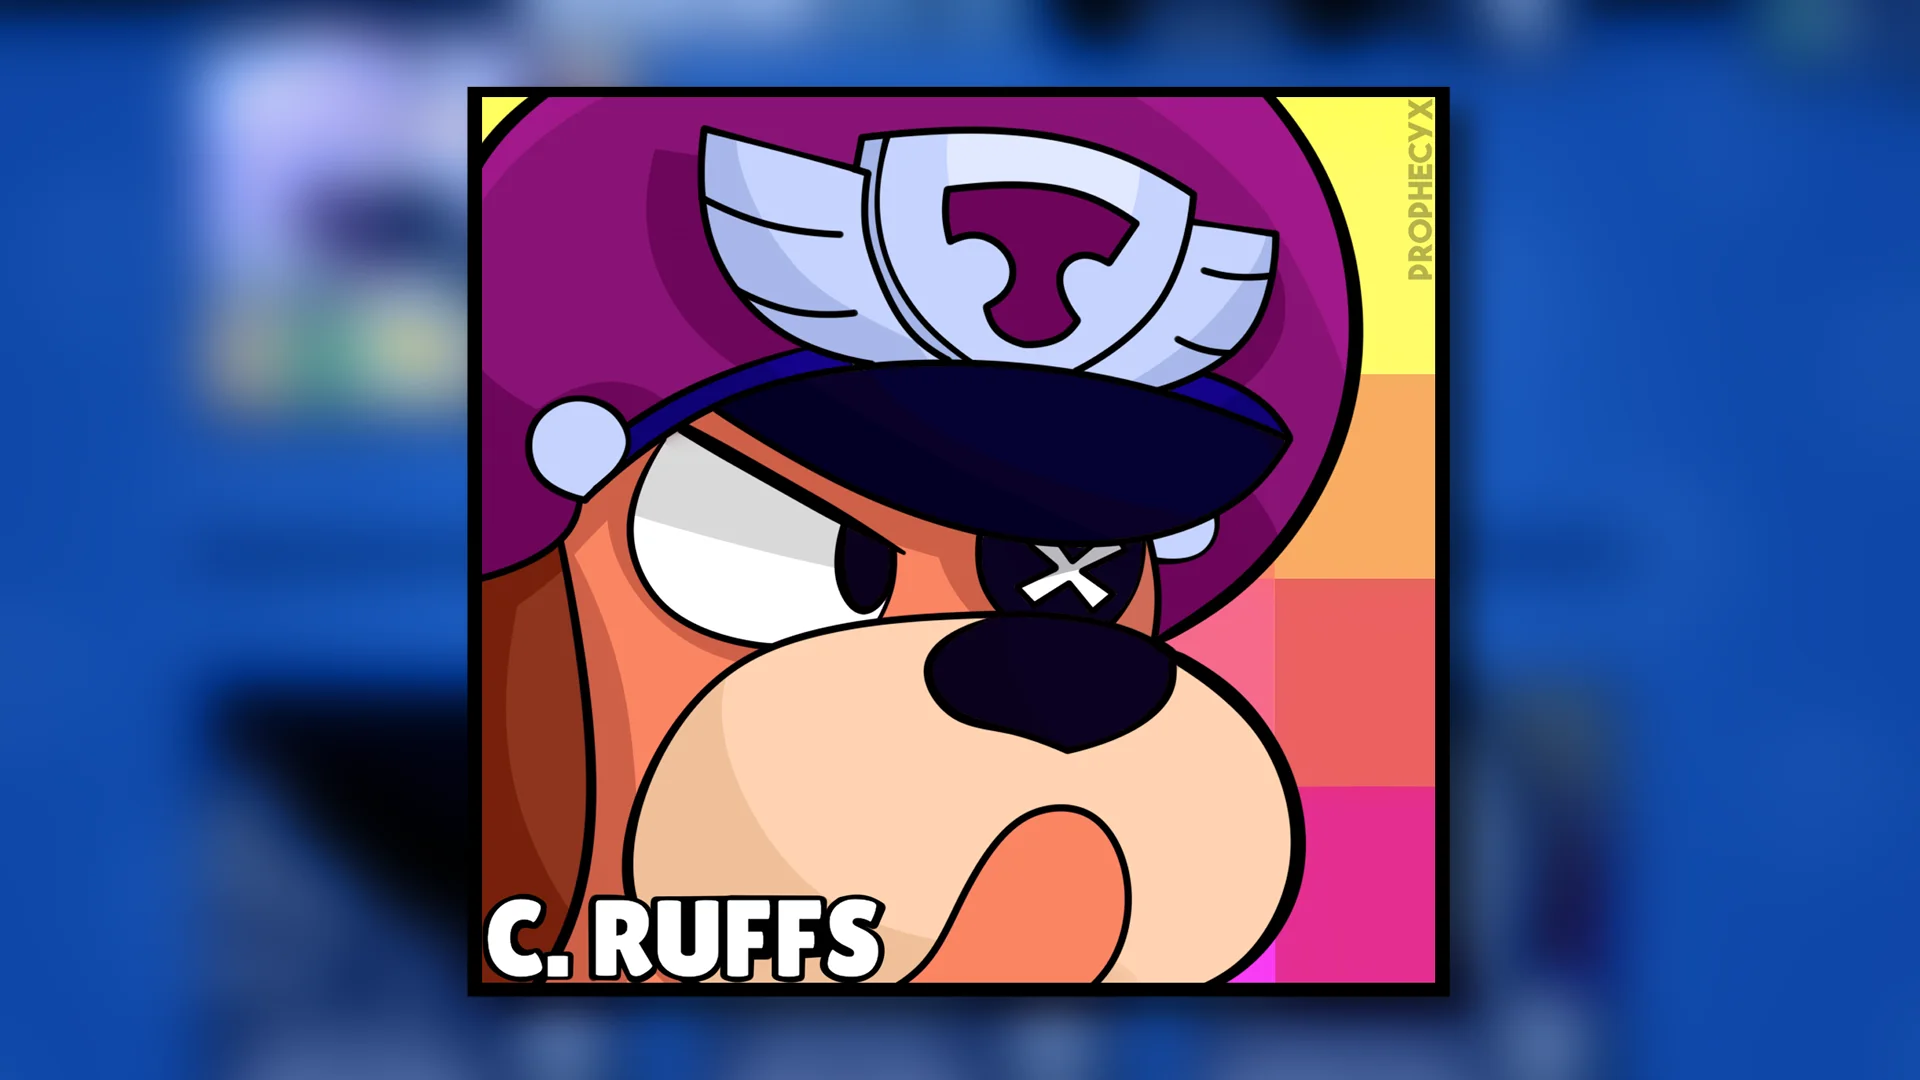
His character icon is one of the most recognizable in the Mythic tier, and his distinctive silhouette — military cap, robotic frame, dual-barrel weapon — makes him visually distinct even in arena modes where multiple brawlers crowd the screen simultaneously. The tick of his double-barrel laser applying pressure with each movement around walls is a mechanical expression of the same controlling, systematic colonel character that his lore describes.
For players who want to understand where Colonel Ruffs fits in the full picture of brawler rankings by trophy push potential and tier value, the Brawl Stars tier list provides a complete ranking of every character in the current meta.
Ruffs Skins and Customization
Colonel Ruffs has one of the larger skin catalogues among Mythic-tier brawlers, with cosmetic variants that expand on his military character identity through different themed visual treatments. His skins modify the appearance of his laser attack effects, the supply drop beacon animation, and his character model without affecting any damage values, star power effects, or cooldown timers.
Skin acquisition follows the standard Brawl Stars path: gems for direct shop purchases, Brawl Pass track completion for seasonal skin access, and coins for unlocking lower-tier cosmetic variants. The brawlstars.store carries a dedicated Colonel Ruffs category reflecting his popularity as a skin subject. His Mythic rarity means his premium skins sit in the 149-299 gem range, while simpler recolor variants are available at lower gem costs. Check the in-game shop icon and Brawl Pass current tier rewards for up-to-date skin availability and pricing.
Who Is Ruffs and Why Does He Work in the 2026 Meta?
Ruffs is a robotic ranged brawler who’s carved out a dominant spot in the 2026 Brawl Stars meta, and it’s not hard to see why. He combines high damage output with a hyper super mechanic that can completely shift the tide of a match. That combination makes him a reliable lane controller across nearly every game mode and map type.
What sets Ruffs apart is his consistency. Even after nerfs, he holds strong viability and adapts well depending on the situation. You can pair him with hypercharge allies like Chester to stack dual hypers, creating pressure that most teams can’t answer cleanly.
His meta placement reflects this strength. He sits in S-tier on MmonsteR’s April 2026 list with a 65.8% win rate, and multiple tier lists confirm his above-average performance even within a high-health meta. He’s simply one of the most dependable picks you can bring into a match. When looking at the broader 2026 meta, brawlers with win rates over 60% are consistently considered the strongest competitive picks — a threshold Ruffs comfortably clears.
How Does Ruffs’ Double-Barrel Laser Work in 2026?
He fires two parallel lasers simultaneously, each operating independently so they can bounce off walls along separate trajectories. This separation matters because each laser calculates its own bounce path, letting you angle shots that cover multiple lanes at once.
Each wall bounce extends your effective range by 1.67 tiles, which stacks meaningfully across multiple ricochets. You’re not just shooting straight lines — you’re threatening angles opponents can’t easily predict. Each tick of laser contact applies damage independently, meaning a target standing in a corner where both lasers converge takes the full double-barrel damage simultaneously rather than sequentially.
Each ricochet adds range you can stack — suddenly you’re threatening angles that feel impossible to predict or escape.
The lasers also penetrate cover, hitting enemies positioned behind obstacles. Combined with Ruffs’ long base range, you can apply pressure without exposing yourself.
His fast reload speed keeps that pressure consistent. You’re cycling through volleys quickly enough to punish repositioning opponents before they settle. Moderate damage per shot becomes less of a concern when you’re landing both lasers accurately while exploiting wall geometry to create unavoidable firing angles. Brawlers like Colette who take percentage-based damage are particularly threatened by Ruffs’ sustained laser pressure — her percentage attacks punish high-HP targets, while Ruffs’ wall bounces create constant movement pressure that limits her ability to maintain favorable positioning.
Where Does Ruffs Perform Best: Top Modes and Maps
You’ll get the most out of Ruffs in Gem Grab, Duo Showdown, and Knockout, where his wall-bouncing shots and lane control shine brightest. Enclosed maps like Cavern Churn, Pinball Dreams, and Close Quarters amplify his double-barrel laser by letting ricochets hit enemies behind cover. For top individual map picks, prioritize Last Stop, Double Decker, and Waveform, where his win rates consistently reach elite levels. Among all modes, Volley Brawl stands out as his single strongest performing mode based on recorded win rate data.
Best Game Modes
When it comes to competitive performance, Ruffs shines brightest in Gem Grab, boasting a 77.9% win rate that reflects how effectively his Supply Drop buffs support teammates in a mode built around holding ground and maintaining coordination.
His top three modes break down as follows:
- Gem Grab — 77.9% win rate; Supply Drop buffs amplify team health and damage during critical holds
- Duo Showdown — 77% win rate; Shield gear and Take Cover gadget extend survivability alongside your partner
- Knockout — 67.9% win rate; Air Superiority boosts offensive pressure during objective plays
- Pick rates — Range from 0.4%-0.59%, reflecting selective, experienced deployment
- Tier standing — Consistent A-tier placement across all three modes in professional meta
His double-barrel laser attack bounces off walls, allowing him to hit opponents behind cover and maintain pressure even in enclosed map layouts.
Ideal Map Types
Ruffs thrives on maps that play to his ricocheting lasers and team-buff potential, so understanding which terrain types suit him best gives you a sirius edge in map selection. Enclosed, wall-heavy maps like Cavern Churn and Pinball Dreams let his lasers bounce repeatedly, extending effective range by 1.67 tiles. Manual aiming in tight corridors lets you land dual laser hits consistently. Bush-cover maps like Sneaky Fields and Hard Rock Mine keep you safe while your vision gadget spots hidden enemies. If you’re running the Supply Drop gadget, open maps with destructible walls — like Ring of Fire or Open Business — become strong picks post-destruction. For raw win rates, prioritize Last Stop at 95.8%, Double Decker at 86.3%, and Close Quarters at 77.1% whenever they’re available. Heist maps are also worth targeting, as Ruffs’ super can deal extra damage to Heist safes while teammates benefit from his power-up boost to survivability and offense.
Top Map Picks
Knowing which maps and modes let Ruffs shine helps you climb faster and waste fewer trophy matches on bad matchups. His strongest results come from specific maps where his support output translates directly into wins.
Ruffs’ top-performing maps:
- Close Quarters — 77.1% win rate, 3.93% pick rate
- Last Stop — 95.8% win rate, 2.86% pick rate
- Nutmeg (Brawl Ball) — 83.1% win rate, 0.87% pick rate
- Acid Lakes (Duo Showdown) — 100% win rate, 0.36% pick rate
- Hard Rock Mine (Gem Grab) — best recommended Gem Grab map
Prioritize Last Stop and Close Quarters since they combine high win rates with solid pick rates, meaning the sample sizes are reliable. Acid Lakes delivers a perfect win rate, but its low pick rate makes it a bonus pick rather than a primary target.
How to Use Ruffs’ Supply Drop Super Effectively
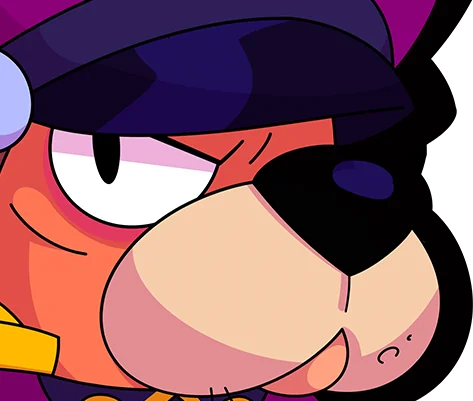
When you throw Ruffs’ beacon, aim for high-traffic zones where enemies cluster, since the 2.33-tile knockback radius punishes grouped opponents most effectively. You’ll also want your allies to grab the power-up badge immediately, as it grants them a 700 health boost and 20% increased attack damage. Prioritizing ally collection over everything else pays off fast, especially since it instantly charges Hypercharge if you’re running Field Promotion.
Targeting High-Impact Zones
Mastering 3 key targeting principles will determine how much value you squeeze out of Ruffs’ supply drop super. Prioritize high-traffic enemy paths, exposed clusters, and wall-heavy choke points to maximize the 2.33-tile AoE impact.
Target these high-impact zones strategically:
- High-traffic paths — Drop the beacon where enemies constantly reposition to force knockback disruption
- Grouped opponents — Hit clustered enemies simultaneously to stack damage across multiple targets
- Wall-heavy areas — Use Air Superiority’s bomb to break walls and expose critical zones
- Power-up coordination spots — Position drops where allies can safely grab the 700-health badge
- Post-drop denial zones — Block enemy repositioning after the supply drop lands
Use the AoE indicator to confirm placement before committing.
Maximizing Power-Up Benefits
Ruffs’ supply drop super delivers two distinct advantages — immediate AoE damage on impact and a 700-health power-up badge that permanently buffs any ally who collects it. The buff also increases basic attack damage by 20%, boosting healing and super damage for applicable brawlers. Since power-ups don’t stack, prioritize unbuffed teammates first when distributing badges.
With Air Superiority Star Power, your super deals up to 2,400 damage, and active buffs push that to 2,680 per drop. You’ll charge your super in roughly 3.5 shots, enabling rapid cycling to keep your team continuously buffed. The cooldown between super activations depends on how quickly you land laser hits — understanding that the super charges on hit rather than on a fixed timer is the key mechanical information most new Ruffs players miss. During Hypercharge, THE GOODEST BOY instantly charges ally Hypercharges while dealing 25% bonus damage, making coordinated timing with team engagements essential for maximizing burst output during critical moments.
Best Ruffs Build: Star Power, Gadget, and Gears
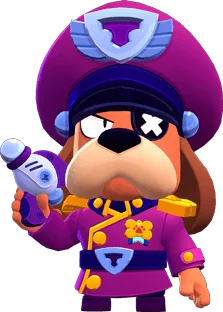
Building the best Ruffs requires picking the right 3 components: a Star Power, a Gadget, and Gears. Each choice directly impacts your battlefield effectiveness.
Star Power: Choose Air Superiority — it’s picked 66-67% of the time, adding 120% more damage to supply drop while destroying walls.
Gadget: Run Take Cover, used 60% of the time, deploying 3 sandbags each carrying 35% of Ruffs’ max health.
Gears: Combine Shield and Damage for a balanced survival edge.
Upgrade Priority and Coins
Reach Power 9 before investing in gears. Each power level increases Ruffs’ base health and laser damage, directly improving how many supply drop cycles he can sustain per match. After Power 9, unlock Air Superiority first, then Take Cover, then Shield Gear, then Damage Gear. The power points and coins required to reach max level follow the standard Mythic brawler path — Starr Drops and the Brawl Pass are the most reliable free-to-play coin and power point sources for reaching Power 11 without gem spending.
Here’s why the full build works:
Every component amplifies Ruffs’ strengths, turning defense and offense into one unstoppable force.
- Air Superiority turns supply drop into a devastating offensive tool
- Take Cover creates instant defensive positioning mid-fight
- Shield Gear provides 900 extra health, regenerating in 10 seconds
- Damage Gear deals 15% extra damage below 50% health
- Shield + Damage pairing helps you survive and win close duels
This combination consistently outperforms alternatives across top community builds.
Ruffs Hypercharge: Is It Worth Prioritizing?

Once you’ve locked in the ideal build, the next question is whether Ruffs’ Hypercharge deserves a spot at the top of your upgrade priority list — and the short answer is yes. Ruffs sits at seventh in the 2026 brawler rankings, and his Hypercharge delivers a huge performance gap between his normal and supercharged states. That difference becomes decisive in Master League, where activating Hypercharge isn’t optional — it’s expected.
Before you can access it, you’ll need to reach Power Level 11 first. That’s the mandatory checkpoint before Hypercharge token collection begins. From there, you can grab it through Brawl Pass progression, Star Drops, or ranked rewards.
Ruffs also received a 10% projectile speed buff in recent balance adjustments, which is very good for his current meta viability. Combined with his Hypercharge, he becomes a genuinely threatening support pick in competitive team compositions. For context on which brawlers his Hypercharge strategy counters most effectively, the worst brawler guide covers the characters whose kits are most vulnerable to sustained supply drop pressure and team buff compounding.
Ruffs Counters and Team Synergies
Who Counters Ruffs?
Colonel Ruffs’ primary weaknesses are brawlers who can close distance faster than his laser tick damage can stack, and brawlers who outrange his effective laser spread. High-mobility assassins who bypass his sandbag cover and reach point-blank range before the double-barrel has a chance to build sustained damage are his most consistent counters. Brawlers like 8-Bit who control mid-range space with persistent turret damage can also neutralize his lane control strategy by forcing him to reposition before his supply drop super charges.
Long-range pokers who operate beyond his bounce range deny him the wall geometry he depends on to extend his effective coverage. On flat, open arena maps without walls to bounce from, Colonel Ruffs loses a significant portion of his threatening angles and becomes a straightforward target for ranged brawlers.
Best Team Synergies for Ruffs
Colonel Ruffs generates his highest value when paired with brawlers who can capitalize on the power-up badge his supply drop delivers. The 20% attack damage boost and 700 HP buff from a collected badge transforms a moderate damage dealer into a high-output threat for the duration of the badge — pairing that with an already strong brawler creates a multiplier on their existing damage profile.
Chester, as noted in the meta section, pairs particularly well because his Hypercharge plus Ruffs’ Hypercharge power-up creates a simultaneous dual-Hypercharge scenario that most teams can’t defend against in the same engagement window. Support brawlers who keep Ruffs alive between supply drop cycles extend his effective output per match and compensate for his moderate base health pool.
The movement restriction his sandbag cover creates is also a team synergy tool: placing sandbags in strategic positions limits enemy movement options, which benefits teammates who deal high damage on stationary or low-mobility targets.
Advanced Ruffs Tactics That Separate Good From Great
Separating good Ruffs players from great ones comes down to how well you leverage his wall-breaking and cover placement in tandem. Mastering these mechanics simultaneously reveals his full competitive potential.
Here’s what elite Ruffs players consistently execute:
- Break walls strategically to expose brawlers relying on enclosed spaces, particularly those without piercing mechanics
- Group teammates against jumping brawlers like Bunny to eliminate safe landing zones and restrict movement
- Place sandbags proactively to support teammates like Spike and Frank while enabling hypercharge sharing
- Switch gears deliberately — Shield Gear for mode downtime, Damage Gear when you’re consistently fighting below 50% health
- Pair with anti-tank brawlers like Shelly to maximize defensive coordination through cover placement
You’re not just supporting teammates — you’re reshaping the map. Every supply drop and sandbag should serve a purpose tied directly to your team’s current positioning needs.
Frequently Asked Questions

Can Ruffs’ Power-Up Affect Brawlers Who Already Have a Power-Up?
No, Ruffs’ power-up can’t affect brawlers who already have one. If you’re already holding a power-up, you’ll be denied pickup to maintain the single power-up limit per brawler.
How Long Does the Shield Gear Take to Regenerate After Depleting?
After your shield gear depletes, it’ll take about 10 seconds to fully regenerate, but you must be at full health first. Once recharged, it won’t lose health over time until it’s depleted again.
What Rank Does Ruffs Hold in the 2026 Top 10 Brawlers List?
Ruffs doesn’t hold any rank in the 2026 top 10 brawlers list. You’ll find that Ruffs is completely excluded from Noff’s top 10, which features brawlers like Mortis, Crow, Bibi, and Leon instead.
How Many Sandbags Does the Take Cover Gadget Deploy per Use?
When you use the Take Cover gadget, it deploys three sandbags in a triangle formation around Ruffs. Each sandbag carries 35% of Ruffs’ maximum health, and previous sandbags despawn once you deploy new ones.
Does Ruffs’ Hypercharge Charge Allies’ Hypercharges Through the Power-Up?
Yes, Ruffs’ Hypercharge does charge your allies’ Hypercharges through the power-up. When your teammates collect it, they’ll instantly receive a full Hypercharge, giving your entire team a significant advantage in battle.
Conclusion
You’ve now got everything you need to dominate with Ruffs in 2026. Use his Double-Barrel Laser to pressure enemies, drop his Supply Drop on your strongest teammate, and build around the star power and gadget that fit your strategy. Whether you’re climbing the trophy ladder or grinding events, Colonel Ruffs rewards smart positioning and teamwork. Apply these tips consistently, and you’ll see your win rate climb fast.
