
Dynamike Brawl Stars: Complete Guide, Best Build and Tips (2026)
Dynamike’s still one of Brawl Stars’ toughest brawlers to master in 2026, but he’s absolutely worth the effort. You’ll want the Satchel Charge gadget, Demolition Star Power, and Shield Gear as your core build. His Hypercharge can release up to 7,800 damage with eight mini bombs, making him a serious threat on maps like Hot Potato and Skull Creek. Stick around, and you’ll reveal everything you need to turn Dynamike into your most explosive main.
Key Takeaways
- Dynamike’s best build uses the Satchel Charge gadget, Dyna-Jump Star Power, Shield Gear, and Gadget Cooldown Gear for maximum effectiveness.
- His main attack deals 1,600 damage per throw using two sticks of dynamite, while his Super deals 2,200 damage and destroys cover.
- Master predictive throwing and fuse delay timing to catch moving enemies and confuse opponents consistently.
- Dynamike excels in Duo Showdown, Skull Creek, and Hot Potato Heist, but struggles against Mico, Mortis, and Edgar.
- Use Satchel Charge to stun enemies for 1.5 seconds, then follow up with your Super for guaranteed kills.
- Supercell designed Dynamike as one of the original thrower characters in Brawl Stars, and his temper-fueled, explosives-obsessed prospector personality is reflected in every mechanic: unpredictable boom patterns, fuses that punish patient enemies, and a playstyle that rewards the kind of miner’s instinct for predicting where things will land before impact.
Why Dynamike Is Still a High-Skill Threat in 2026
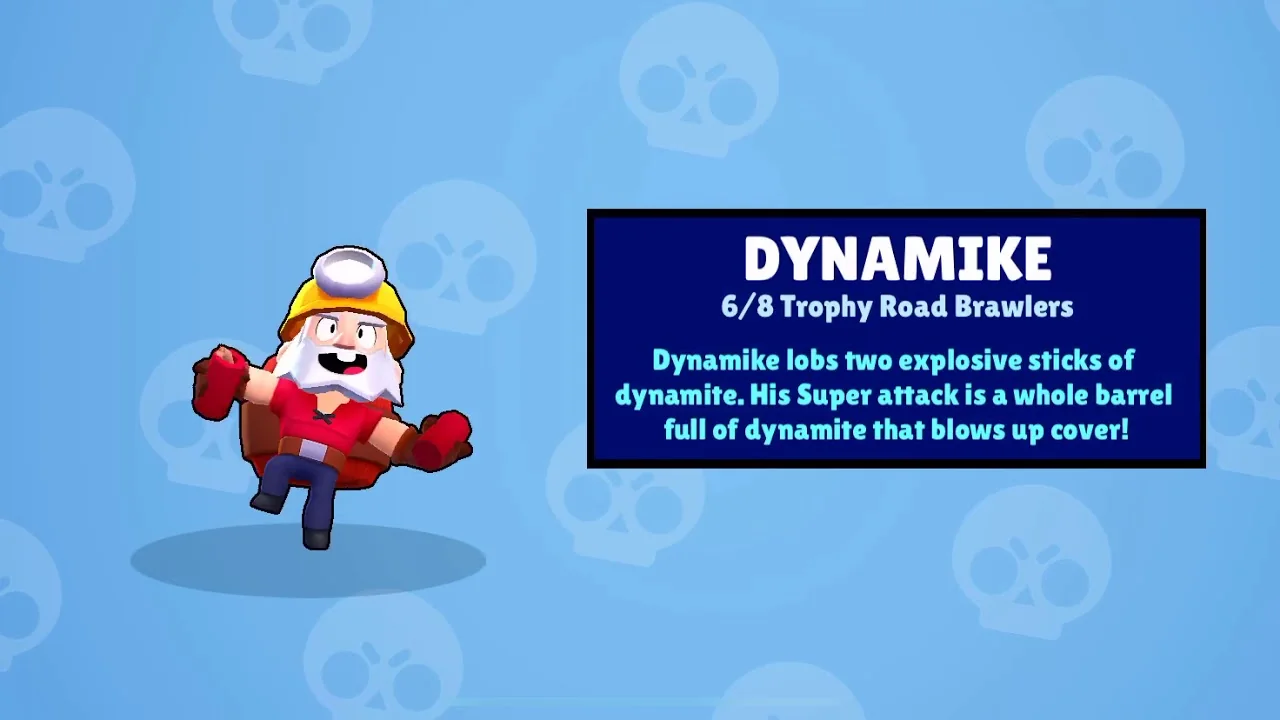
Dynamike remains one of Brawl Stars’ most demanding Brawlers to master, and that’s exactly what makes him a persistent threat in 2026. His projectiles require precise aiming and predictive shots to consistently hit moving targets, and his post-impact explosion delay punishes careless throws. You can’t just spam dynamite and expect results. Brawl Stars has been around since its global release in December 2018, and Dynamike was one of the original launch characters — his longevity in the game reflects genuine mechanical depth rather than power creep.
His Dyna-Jump gadget pushes his skill ceiling even higher. Triple jumps demand pinpoint control over your landing points, and a poorly executed first jump exposes you to delayed counterattacks. That risk-reward dynamic separates casual players from true Dynamike mains.
What keeps him relevant isn’t just mechanical depth — it’s payoff. His Star Powers reward pilot-level control with maximum value, and his fastest movement speed among Throwers lets you reposition aggressively. The sticks of dynamite he throws aren’t just offensive tools: they’re also pressure instruments that force enemies to commit movement decisions before the explosions even land. When you’ve mastered his mechanics, Dynamike doesn’t just threaten — he controls the entire pace of a match. His Super skill can destroy obstacles on the map, opening up sightlines and fundamentally reshaping how a fight unfolds.
Dynamike’s Stats, Attacks, and Hypercharge Breakdown
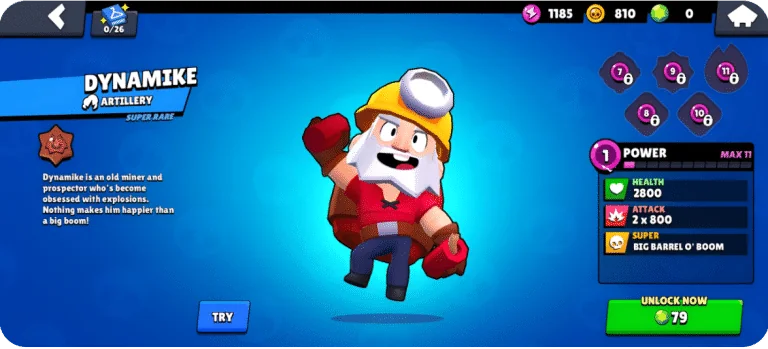
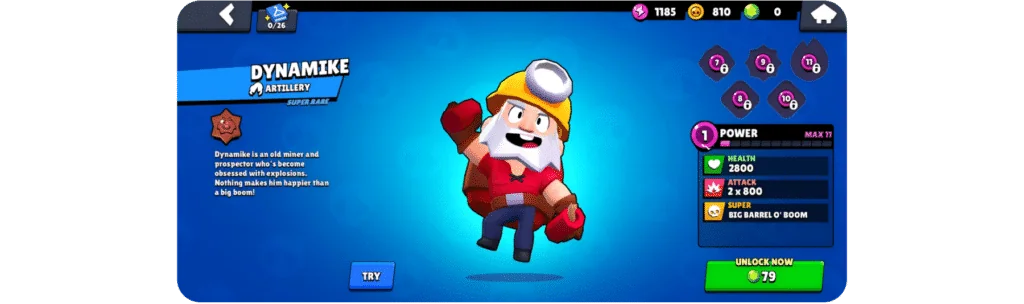
Dynamike packs 2,800 health and moves at a brisk 770 movement speed, making him fragile but functional in the right hands. His main attack, Short Fuse, lobs two dynamite sticks that deal up to 1,600 damage each, arcing over walls at a 7.33-tile range. Activate his Hypercharge, Boomer, and his Super detonation scatters dynamite in every direction, each stick hitting for up to 2,400 damage while boosting his speed to 963 and granting a 15% shield. His Super, Big Barrel O’ Boom, deals 2,200 damage while also destroying cover and knocking back any enemies caught in the blast wave.
Core Stats Overview
Brawl Stars’ resident explosives enthusiast brings a deceptively complex stat package to every match. Dynamike starts with 2,800 health at level 1, scaling up to 6,000 at level 11. His movement speed sits at 770, classifying him as a fast thrower brawler — a significant advantage for a glass cannon character whose survival depends on constant repositioning.
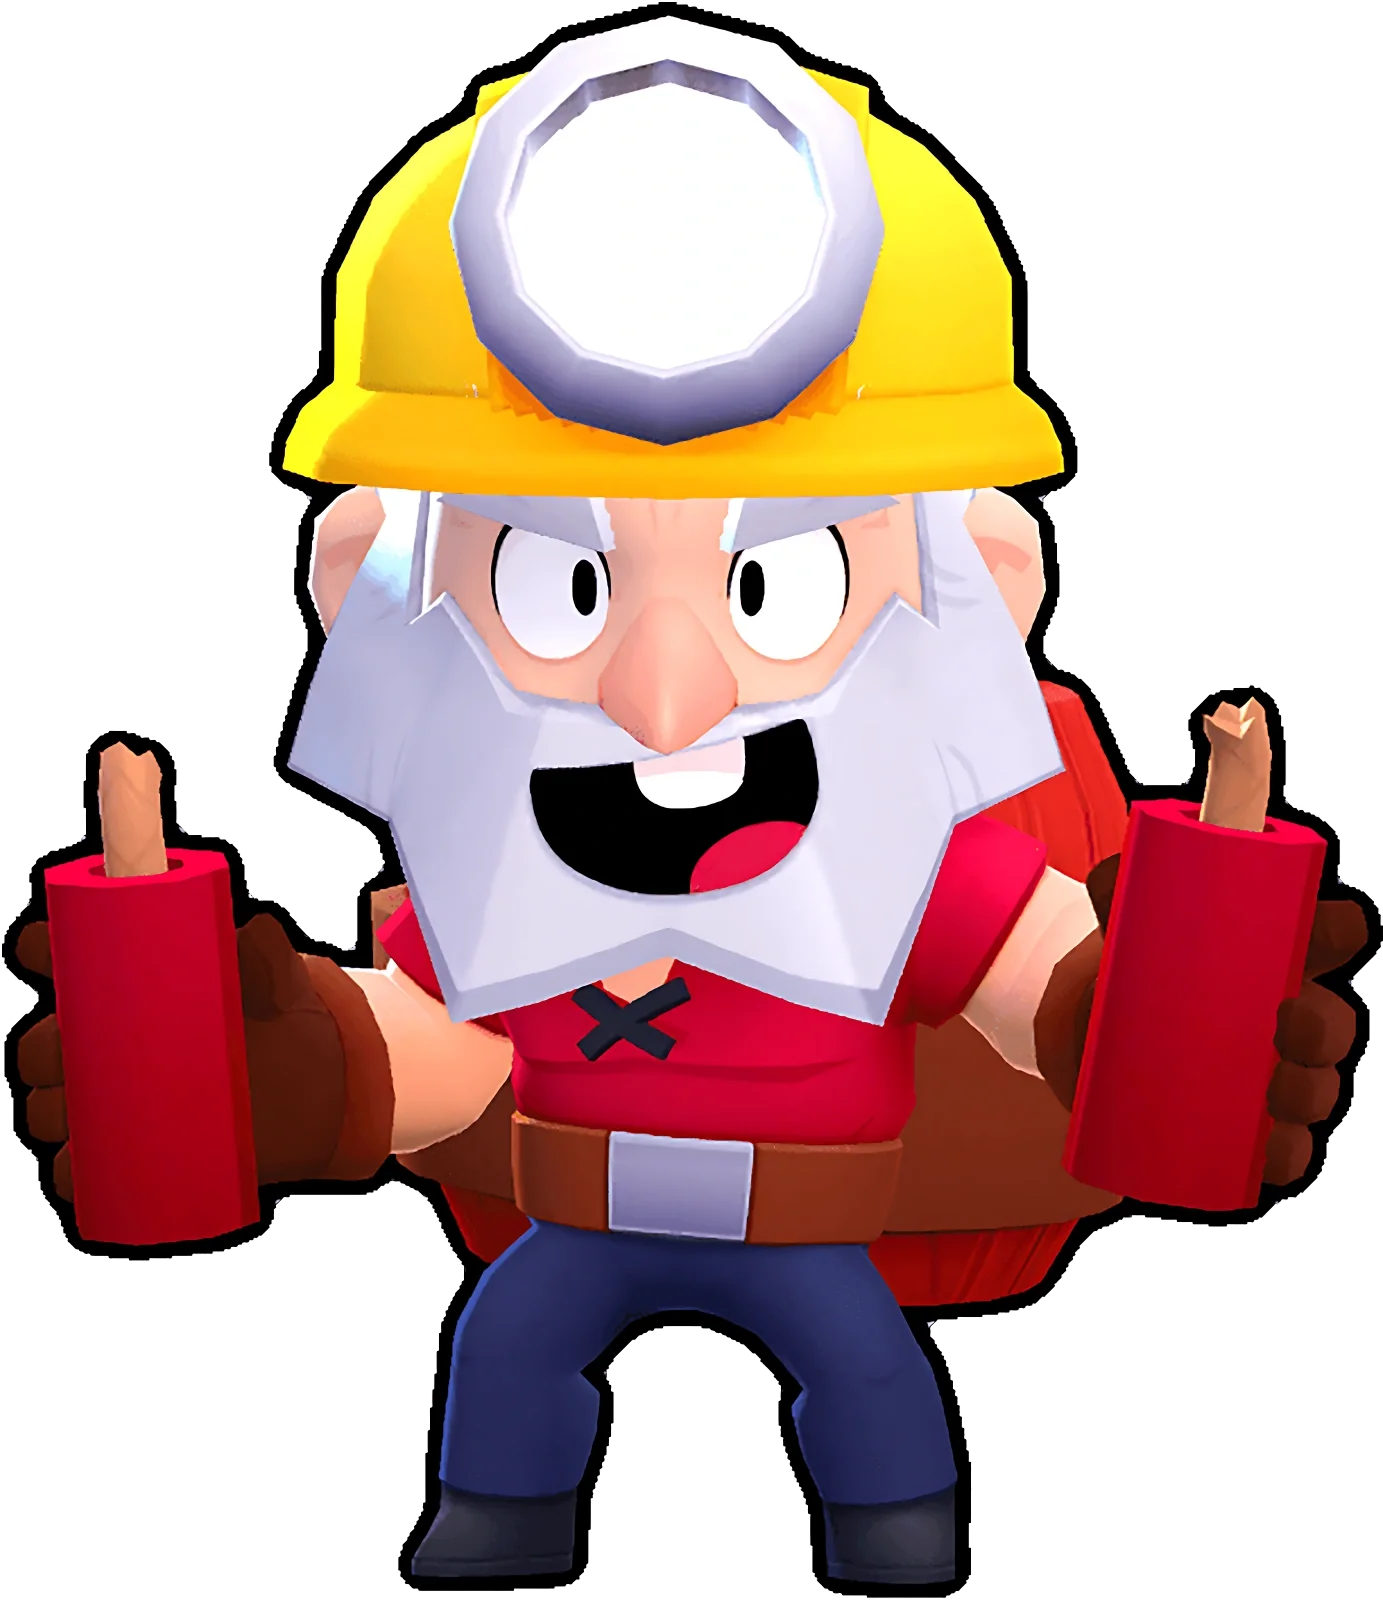
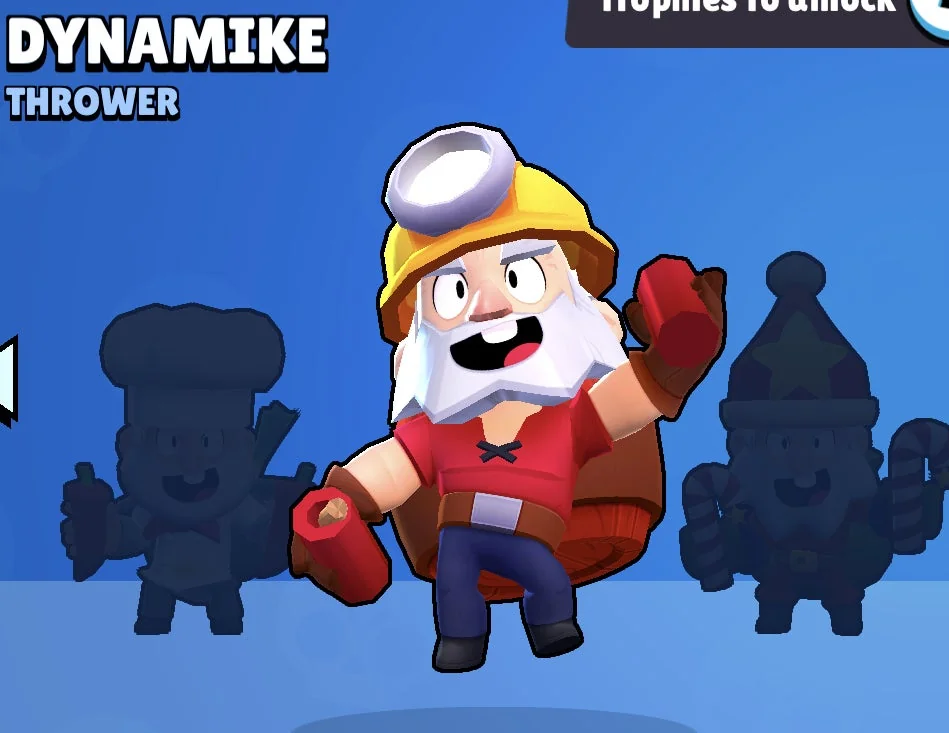
His main attack deals 1,600 damage per throw at level 11, while his Super hits for 4,400 base damage. His Shield gear adds 900 consumable health, regenerating every 10 seconds, which partially compensates for his fragility. The icon representing him in the roster has remained consistent since launch: an angry old prospector with dynamite, a character design that communicates his explosive temper and miner background in a single glance.
Among 268 tracked builds, damage gear dominates at 24% pick rate, while health gear trails at 6%, speed at 3%, and vision at 4%. Players clearly prioritize maximizing his offensive output over survivability. His Hypercharge, Boomer, creates small bombs at increased speed and provides a 5% damage and shield boost, adding another layer of offensive pressure when fully activated.
Attacks and Hypercharge
Although Dynamike’s damage output looks straightforward on paper, his attack mechanics reward players who understand the nuances behind each throw. Each attack tosses two dynamite sticks, dealing 800 damage each for 1,600 total. The fuses on each stick have a fixed burn time, and learning to predict where targets will be when the explosions detonate — not where they are when the sticks leave his hand — is the core mechanical challenge the game built around his character.
His Super hits for 2,200 damage and destroys cover in the impact area while knocking back survivors from the blast wave center.
His Hypercharge, “Boomer,” transforms his Super into something devastating:
| Attack Type | Base Damage | Hypercharged Damage |
|---|---|---|
| Main Attack | 1,600 | 2,000 |
| Super | 2,200 | 2,750 |
| Mini Bombs (×8) | — | 825 each |
Boomer spawns 8 mini bombs dealing 30% of your Super’s damage. The boom from all eight sticks landing simultaneously on a clustered group can eliminate multiple enemies in a single Hypercharge activation. You’ll also gain 25% speed, 25% damage, and 5% shield during activation. After February 2024 nerfs, these numbers dropped, but Dynamike’s maximum damage potential still reaches 7,800. The February 2026 update introduced new Boss Fight modes featuring enemies like Boss Grom, who uses unlimited-range explosives that create a uniquely challenging environment for Dynamike players to navigate.
The Best Dynamike Build: Gadgets, Star Powers, and Gears
To get the most out of Dynamike, you’ll need to pair the right gadget, star power, and gears together. The community’s top pick from 232 builds combines Satchel Charge, Dyna-Jump, Gadget Cooldown, and Shield for maximum offensive output and survivability. Let’s break down each component so you can choose the build that fits your playstyle and preferred modes. The Demolition star power amplifies the damage potential of Dynamike’s Super, making it especially effective for decimating groups of enemies and destroying material cover structures.
Best Gadget Choice
When it comes to gadgets, Satchel Charge is the clear winner, appearing in 90% of builds and 92% of curated builds. It stuns enemies for 1.5 seconds on your next attack, giving you a massive advantage in engagements. That brief window lets you follow up with a direct hit or reposition safely. The stun completely interrupts enemy gadgets or mobility abilities that were already activated, making it one of the highest-impact single gadget effects available to any thrower brawler in the game.
Dynamite is the alternative worth considering. It grants you an extra dynamite throw, boosting your burst damage and area control. If you’re focusing on overwhelming enemies quickly, it solidifies your offensive presence.
That said, Satchel Charge dominates for good reason — the stun creates opportunities that Dynamite simply can’t match in most situations. Unless you specifically need extra burst damage, stick with Satchel Charge as your go-to gadget choice.
Top Star Powers
Dynamike has 2 Star Powers to choose from: Dyna-Jump and Demolition. Dyna-Jump lets you ride the blast wave from your main attack, Super, and Hypercharge to jump over obstacles, making it ideal for Brawl Ball and Showdown where reaching objectives matters. It’s picked 59% of the time in user builds and performs well on maps like Triple Dribble. The fidget spinner comparison some players use for Dyna-Jump’s movement arc is apt: it creates unpredictable directional changes mid-air that make Dynamike nearly impossible to track when used at full mechanical efficiency.
Demolition adds 800 damage to your Super, bringing it to 3,000 total, which helps you secure eliminations more consistently. It pairs especially well with Hypercharge, boosting Super damage by 25%. It’s the better choice for most players since it requires less mechanical practice.
For general use, pick Demolition. Switch to Dyna-Jump when mobility and obstacle navigation are priorities.
Optimal Gear Selection
For gears, you’ll want to prioritize Shield and Gadget Cooldown in most builds. Shield ranks as the most popular gear at 34% usage, giving you 900 consumable health that regenerates after 10 seconds at full health. It’s especially effective early in matches when you’re absorbing initial aggression.
Gadget Cooldown follows at 28% usage and pairs perfectly with Satchel Charge by reducing its cooldown by 15%, letting you stun enemies more frequently. This gear excels in shorter, intense matches where gadget pressure matters most.
For Sick Beats mode specifically, swap Gadget Cooldown for Damage Gear and pair it with Shield instead. In general builds, combining Gadget Cooldown with Vision Gear creates a strong, optimized setup that maximizes your gadget-dependent playstyle.
Counters and Matchups Every Dynamike Player Must Understand
Mastering your matchups as Dynamike separates mediocre players from those who consistently carry games. You’ll dominate 8-Bit, whose sluggish movement turns him into free target practice against your delayed bombs. Surge at Stage 1 struggles against your zoning, and Meeple‘s low reload speed combined with a countered Super makes him easy prey in wall-heavy maps — Meeple’s movements are predictable enough that your fuse timing can be set to catch him in the middle of an engage rather than at the start.
However, Mico jumps directly over your bombs and corners you inescapably. Mortis and Edgar both close gaps aggressively, dashing through your delayed shots before you can react. Assassins broadly counter you by using travel abilities to dodge your predictions entirely. The impact of these matchups compounds in open maps where your preferred wall cover is limited — knowing which opponents you’re facing before locking Dynamike in is essential information for any serious trophy push.
Your best tools against these hard matchups are Dyna-Jump and Satchel Charge. Dyna-Jump lets you escape Mortis and Mico by vaulting obstacles. Satchel Charge stuns enemies for 1.5 seconds, preventing dodges and counter fire. Pair the stun with your Super to guarantee kills on medium-health threats.
How to Master Dynamike’s Timing, Zoning, and Super Chains

Winning consistently with Dynamike comes down to three core skills: timing your fuse delays, controlling space through unpredictable patterns, and chaining your Super effectively.
Throw dynamite closer to yourself for longer ground exposure, giving enemies less time to react to the fuses burning down. At max range, unpredictable spread patterns make dodging harder. Vary your timing between rapid throws and delayed intervals so opponents react instead of anticipate. The sirius mistake beginners make is throwing in a predictable rhythm — experienced opponents read the pattern and walk out of the explosions zone before the sticks detonate.
| Skill | Why It Wins Games |
|---|---|
| Fuse delay mastery | Explosions catch enemies mid-movement |
| Unpredictable patterns | Opponents can’t read your next throw |
| Super chaining | Consecutive blasts eliminate repositioning windows |
For Super chains, throw your Satchel Charge immediately before Dyna-Jump activates. Enemies assume you’re retreating, then the explosion connects. Triple and quad-jumping extend your evasion windows, letting you reset positioning while maintaining pressure. Hiding behind obstacles during reload forces enemies into your predetermined kill zones. The sticks from a well-placed Super can remove cover that enemies rely on, which reshapes the fight’s geometry entirely and creates follow-up shots on targets who now have nowhere to hide.
Best Maps and Modes to Maximize Dynamike’s Damage

Dynamike thrives in specific maps and modes that reward long-range area denial, so knowing where to play him is just as important as knowing how. In Duo Showdown, he hits a 66% win rate, making it his strongest competitive mode. Skull Creek in Showdown delivers a 62.5% win rate, while Molten to the Core tops Trio Showdown. For Brawl Ball, Center Stage lets you chip enemies from walls, and your Super clears goal-area blocks for clean scoring opportunities. In Heist, Hot Potato‘s your best bet — avoid most other Heist maps where he underperforms. McCart Madness is his only reliable Gem Grab option. For Knockout, New Horizons suits his range best. Pair Dyna-Jump with Parallel Plays in Hot Zone to reposition and ambush effectively. His 7.33-tile range and 800 damage per stick shine brightest in open, wall-heavy maps where enemies can’t close the gap easily.
Dynamike’s Best Synergies, Skins, and Upgrade Strategy
Best Team Synergies for Dynamike
Dynamike’s zone-control strategy works best when teammates can capitalize on the forced positioning his explosives create. When enemies are dodging his sticks of dynamite and repositioning around the blast wave radius, they move predictably — the dodge direction is always away from the explosion center. Teammates who can anticipate that movement and cut off escape routes transform Dynamike from a solo threat into a team-controlled elimination machine.
Brawlers with crowd control abilities pair particularly well. Meeple creates area-denial zones that force enemies to stand in positions where Dynamike’s predictive throws become near-guaranteed hits. The temper-matching combination of two aggressive zone-control brawlers creates layered explosions that opponents struggle to navigate around simultaneously.
Long-range support brawlers who can protect Dynamike from assassins complete his team composition. When Mortis or Edgar try to close distance, a teammate who can interrupt their approach gives Dynamike the reload time he needs to land a follow-up throw. The miner-style patient approach of building a defensive perimeter before committing to an explosive plays best when Dynamike has reliable cover from fast-closing opponents.
In Brawl Ball specifically, pairing Dynamike with a ball-carrier who benefits from obstacle removal is effective: Dynamike blows open wall sections with his Super, and the ball-carrier pushes through the newly opened path into a clean scoring position.
Dynamike Skins and Customization
Dynamike has one of the most expansive skin catalogues in the game, with over 20 cosmetic variants that span different visual themes while keeping his explosive prospector identity intact. Supercell has released Halloween, pirate, wizard, and crossover event skins for Dynamike since the game’s global launch, reflecting his status as one of the longest-running brawler icons in Brawl Stars history.
His legendary skins modify his dynamite throw animations and Super explosion visual effects significantly — the boom from a legendary Dynamike skin is noticeably more elaborate than the base character’s, with different particle systems for the fuses, detonation effects, and knockback animations. Several skins also modify his voice lines, adding character-specific audio to the standard game sounds.
Skin acquisition follows the standard Brawl Stars method: gems for shop purchases, Brawl Pass track completion for seasonal offerings, and event-limited windows for crossover and anniversary designs. His popularity as an original launch character means Supercell rotates his cosmetics through promotional events more frequently than recently introduced brawlers. Players specifically looking for his most popular skins can find current availability and pricing through the in-game shop icon and the official Brawl Stars community channels where new skin announcements are posted.
The upgrade material for reaching each trophy milestone with a specific skin equipped doesn’t change Dynamike’s stat values — cosmetics are purely visual, but higher-tier skins carry cultural value in ranked and trophy road matches as indicators of playtime investment.
Upgrade Priority and Trophy Tips
Upgrading Dynamike efficiently requires reaching Power 9 before investing in gears. His base damage scaling from each power level directly increases how much work each throw does in a match, and the difference between Power 7 and Power 9 is meaningful enough to affect trophy road outcomes. After Power 9, unlock Satchel Charge first — it has the most universal match impact. Follow with Demolition, then Shield Gear, then Gadget Cooldown.
For trophy grinding, Duo Showdown is the most reliable mode at 66% win rate. Solo Showdown is viable on maps like Skull Creek where wall coverage limits assassin approach paths. Avoid using Dynamike in ranked modes until you have the mechanical consistency to land predictive throws on opponents who are actively trying to dodge your fuse timing — the trophy loss from a mechanically demanding brawler in ranked compounds quickly without that foundation in place. Pick the right map first, then commit to the trophy push.
Who Should Actually Be Playing Dynamike?

If you’re the type of player who loves reading the battlefield and punishing enemies who overextend, Dynamike is built for you. He rewards precision, patience, and calculated aggression — not button-mashing. You’ll thrive with him if you naturally gravitate toward area denial and zoning opponents into unfavorable positions. The Mike in Dynamike’s character name is shorthand for his dynamite-carrying prospector identity: an old miner with enough explosives knowledge and bad temper to make every match feel personal.
Top performers share three defining traits:
- Explosive prediction mastery — You consistently anticipate enemy movement rather than reacting to it, placing sticks where fuses will burn out right as opponents arrive.
- Gadget discipline — Pro players use Satchel Charge 92% of the time, meaning you’re committing to high-impact, well-timed stuns rather than reactively throwing extras.
- Duel confidence — Leaderboard leaders dominate 1v1 scenarios, making Dynamike ideal for players who back themselves mechanically in close-range situations where his explosives deal decisive impact.
If you rely heavily on teammates to create opportunities, Dynamike will frustrate you. He punishes passive play and rewards daring, high-risk decisions — especially explosive jumps that flip engagements entirely. Own your mistakes, adapt fast, and you’ll climb.
Frequently Asked Questions
Can Dynamike’s Hypercharge Be Charged Through Wall Bounces?
Yes, you can charge Dynamike’s Hypercharge through wall bounces. When you chain attacks during wall bounces using Dyna-Jump, each hit contributes to your Super bar, accelerating your Hypercharge progress considerably.
Does Satchel Charge Work on Brawlers Inside Bushes?
Yes, Satchel Charge works on brawlers inside bushes. Its splash damage affects enemies regardless of their bush concealment, so you’ll stun hidden opponents and prevent them from dodging your follow-up Super.
Is Dynamike Viable in Competitive Ranked Play This Season?
Dynamike’s viable in ranked, but you’ll struggle at higher tiers. He sits mid-to-low in competitive rankings, so you’re better off picking meta-defining brawlers like Juju or Lumi for serious ranked pushes.
Can Two Dynamike Players Combo Their Supers in Duo Showdown?
Yes, you can combo your Supers with another Dynamike in Duo Showdown. Time your throws simultaneously or staggered to create overlapping blasts, widening denial zones and devastating clustered enemies effectively with coordinated teamwork.
Does Dyna-Jump Cancel Enemy Gadgets or Activated Star Powers?
Dyna-Jump doesn’t cancel enemy gadgets or activated Star Powers. However, you’re immune to damage while airborne, so you can dodge their effects mid-jump. Use smart timing to bait enemies into wasting their abilities.
Conclusion
You’ve now got everything you need to run Dynamike at his highest level. He’s not a beginner’s pick, but if you’re patient, precise, and willing to master his arc timing and fuse strategy, he rewards you like few other brawlers can. Commit to learning his bounce angles, respect his counters, pick teammates who complement his zone-denial approach, and choose your maps wisely. Dynamike’s ceiling is yours to hit — go blow something up.
