

Bull Brawl Stars: Complete Guide, Best Build and Tips (2026)
Bull’s strength comes down to one number most guides get wrong: his shotgun now hits for 880 damage per shell at max level, not the 600 you’ll see quoted elsewhere, which puts a full five-shell volley at roughly 4,400 damage if every pellet connects.
Pair that with Stomper for the slow-into-stun combo and Tough Guy for a 30% damage reduction shield below 40% health, and you have the tank build that’s currently sitting at 74% and 57% pick share on noff.gg’s community build tracker. He still struggles against anyone who can keep their distance, chiefly Piper and Colt, so the matchup section below covers how to close that gap instead of eating chip damage the whole match.
Key Takeaways
The short version, if you’re skimming: run Stomper, Tough Guy, and Damage Gear, and everything else in this guide explains why.
- Bull’s shotgun deals up to 880 damage per shell at level 11 (4,400 total across all five shells), which is notably higher than the 600-per-shell figure that’s still circulating in older guides.
- Tough Guy’s shield activates below 40% health and cuts incoming damage by 30%; live tracker data from noff.gg and Brawl Time Ninja currently shows the trigger at 30% health, so double-check in-game before you plan a trade around the older number.
- Stomper is the clear favorite gadget at 74% pick share across 187 recent community builds, mainly because it converts an existing slow into a stun rather than adding a second, separate effect.
- Counter him with sustained ranged pressure, Piper, Colt, or Spike all work, since his kit has almost nothing to answer with once he’s out of shotgun range.
How Much Damage Can Bull Actually Deal?

This is the section where most write-ups quietly go stale, because Bull’s shell damage has been buffed since a lot of guides were first published. He fires 5 shotgun shells per attack, and at level 11 each one now deals 880 damage, for a maximum of 4,400 damage if all five connect at point-blank range. As always with a spread weapon, that ceiling only shows up when you’re standing on top of your target; damage falls off fast past melee range, so don’t expect anywhere near that number from a mid-range poke.
His Super, Bulldozer, adds a second damage source on top of that, dealing roughly 2,000 damage at max level based on Brawl Time Ninja’s live stat block, and it pierces through anyone in its path while breaking obstacles. If you’re running the T-Bone Missile gadget instead of Stomper, that trade shifts to 1,600 damage plus 1,600 healing on hit, per the same tracker, though a December 2025 balance patch bumped the healing portion to 1,696, so the in-game tooltip may already read slightly higher than what’s printed on some third-party sites.
Run the math on his reload speed (1.6 seconds at base) against that 4,400-damage volley and you land on a DPS of roughly 2,750, which happens to be the one number older versions of this guide already had right, even when the shell damage feeding into it was outdated.
The Berserker Star Power doubles that reload speed once you drop below 60% health, and Damage Gear stacks a further 15% on top below 50% health, so his burst window gets considerably scarier the lower his own health bar gets, which is exactly the aggressive, close-in playstyle his kit is built around.
Bull’s Best Build in 2026
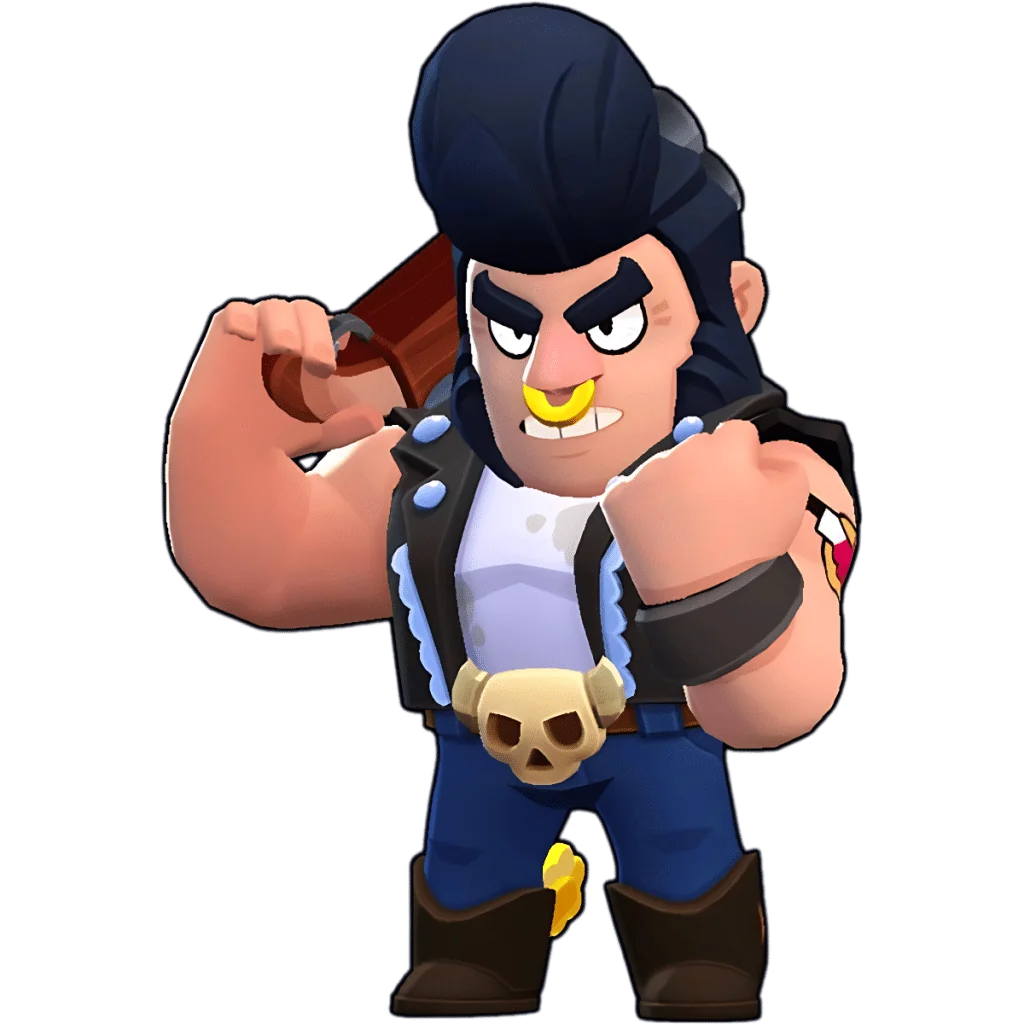
The core setup hasn’t changed in months: Stomper, Tough Guy, and Damage Gear. Stomper interrupts opposing Supers and slows nearby enemies for 1.5 seconds, Tough Guy’s shield kicks in below 40% health for a 30% damage reduction, and Damage Gear adds 15% output once you drop under 50% health. All three trigger during the same low-health window, which is the point, this build rewards staying in a fight rather than disengaging from one.
| Build Slot | Selection | Pick Share (Aug 2026) |
|---|---|---|
| Gadget | Stomper | 74% |
| Star Power | Tough Guy | 57% |
| Primary Gear | Damage | 37% |
Those figures come from noff.gg’s build tracker, which was curating 187 community-submitted Bull builds as of this writing. That’s a live, moving sample, so treat the exact percentages as a snapshot rather than a fixed number, but the ranking has held steady for months. Worth flagging: Health Gear has quietly overtaken Super Charge Gear as the second-most-picked gear (16% versus a distant showing for Super Charge), which older guides built around a 33% Super Charge Gear share don’t reflect.
Bull himself is a Rare Brawler whose whole kit revolves around closing distance and unloading at melee range, so an aggressive, damage-forward build fits how he actually plays rather than being a generic “best build” template pasted from another tank.
Berserker vs. Tough Guy: Which Star Power Is Worth It?
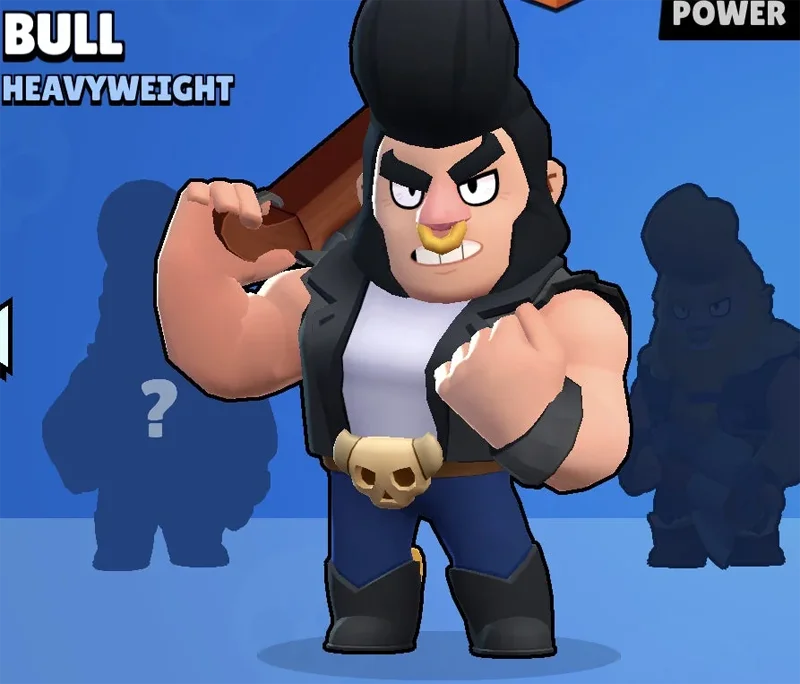
This comes down to how you actually play him. Berserker doubles your reload speed once you’re below 60% health, which is a real edge if you’re already committed to close-range brawls or diving Heist safes, but it’s a pure offense pick with zero survivability attached. It only helps once you’re already in the danger zone, so it rewards players who are comfortable fighting at low health rather than backing off.
Tough Guy is the safer pick for most players. Its 30% damage reduction shield triggers below 40% health and buys you the extra couple of hits needed to turn a losing fight around, which is a large part of why it’s the more popular Star Power on noff.gg’s build tracker at 57% share versus Berserker’s smaller portion.
For most game modes, Tough Guy is the better all-round choice simply because it keeps you alive long enough to use the rest of your kit. If your playstyle is genuinely aggressive and you rarely find yourself retreating anyway, Berserker’s reload speed can out-damage what Tough Guy saves you in survivability, but it leaves you with nothing to fall back on against sharpshooter-type brawlers who can punish a low-health Bull from range before he closes the gap.
Why Stomper Beats Every Other Gadget
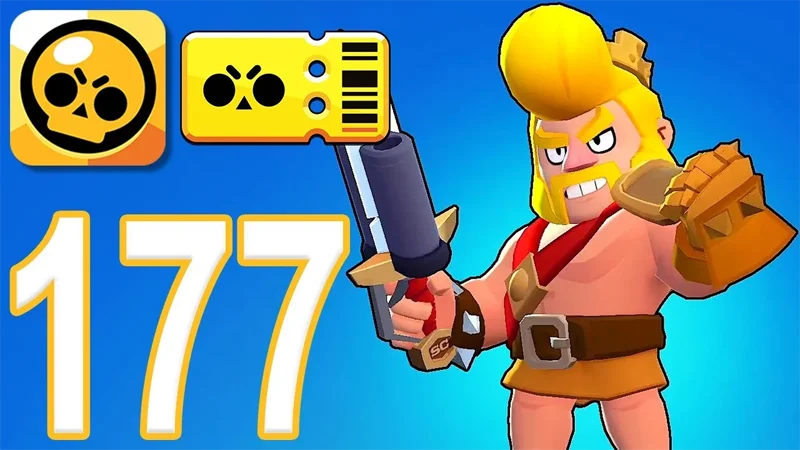
Activating Stomper slams the ground and slows every nearby enemy for 1.5 seconds, which is instant crowd control that T-Bone Missile simply doesn’t offer. That window lets you reposition, escape a bad angle, or press forward while your target is moving slower than you are. It’s a big part of why Stomper holds a 74% pick share among current community builds, well ahead of T-Bone Missile, though the healing-focused gadget still has a niche in matchups where you need sustain more than control.
Crowd Control Advantage
The mechanic that actually matters here: if a target is already slowed, Stomper stuns them instead, according to the ability’s live description on Brawl Time Ninja. That’s a genuine upgrade path, not just a bigger slow, and it’s why Stomper reads as a crowd-control tool rather than a simple escape button. Activating it mid-charge stuns everyone it hits, which interrupts Super charges and shuts down retaliation windows against tanks like El Primo before they can swing back.
The slow-to-stun conversion is also what makes Stomper worth pairing with wall positioning. Standing near cover means knockback from your own Super doesn’t push you into an open lane, so you can chain stuns through corridors without losing your own momentum.
Repositioning Under Pressure
Stomper’s value goes up specifically when enemies try to circle you rather than commit head-on. The slow reduces their mobility enough that your shotgun pellets keep landing, and if they were already slowed by a teammate’s ability or your own Super, Stomper converts that into a full stun instead of a second slow.
| Situation | Stomper Outcome |
|---|---|
| Enemy circling you, unaffected | Slowed for 1.5 seconds |
| Enemy already slowed | Stun triggered instead |
| Super end-range hit on a slowed target | Stun activated |
| Teammate’s slow already active | Stun conversion |
That control forces enemies into static positioning, which means they absorb more of your shotgun damage instead of dodging out of the cone. Whether you’re pushing or retreating, Stomper is the gadget that keeps the engagement on your terms.
Best Gears for Bull in Brawl Stars

Damage Gear is the clear leader at 37% pick share among the 187 builds noff.gg has on file, and Health Gear has taken over the second spot at 16%, a genuine shift from the Super Charge Gear that older Bull guides (including earlier versions of this one) list as the runner-up.
Damage Gear activates below 50% HP for a 15% damage boost right when Bull is already fighting at low health during a close-range dive, which is most of the time if you’re playing him correctly. It pairs naturally with Tough Guy’s shield, since both effects key off roughly the same low-health window, letting you trade damage more aggressively than your health bar alone would suggest is safe.
Health Gear’s rise to second place tracks with how often Bull gets focused down before he can close distance; extra effective HP simply keeps him alive long enough to reach shotgun range in matchups where Super Charge Gear’s faster cooldown doesn’t matter as much. If you’re finding you die on approach more than you run out of Supers, that’s the gear to try instead of following the older Super Charge Gear default.
Bull technically has access to all six universal Super Rare Gears, even though only two show up regularly in competitive builds. Here’s the honest read on the other four, since most gear breakdowns for him stop at the top pick and leave the rest unexplained:
- Speed Gear (15% faster movement while in bushes) is the most common alternative to the Damage and Health pairing. It specifically helps on bush-heavy maps, where the bottleneck to using Bull well isn’t damage, it’s reaching shotgun range before someone spots you first.
- Shield Gear (a 900 HP consumable shield that regenerates in 10 seconds at full health) is a reasonable pick on paper, but per the Brawl Stars Fandom wiki’s own gear breakdown, Shield Gear delivers the most value on Brawlers with a low starting health pool. On someone with Bull’s health total, the relative benefit is smaller than the flat 900 number makes it sound.
- Vision Gear (reveals hidden enemies briefly after you damage them) is close to dead weight on Bull specifically. The same wiki gear guide singles out short-range Brawlers as the group this gear helps least, since you’re already standing on top of whoever you just hit.
- Gadget Cooldown Gear (15% faster gadget cooldown) is a legitimate niche pick if you’re leaning on Stomper for repeated crowd control rather than raw damage, though current builds still favor Damage or Health over it in most matchups.
How to Play Bull: Positioning, Combos, and Super Timing

Mastering Bull means hugging walls and bushes to close gaps before enemies can react, then chaining his Super into a point-blank shotgun blast to finish the trade before they recover. Time the Super off enemy movement patterns rather than reacting to where they already are, since reading ahead is the difference between a clean hit and overshooting into an exposed position.
Mastering Bull’s Positioning
Because Bull thrives in tight, enclosed spaces, prioritize maps with dense bush coverage, unbreakable walls, and choke points that let you ambush at close range. Open maps with long sightlines eliminate his biggest advantage before the fight even starts.
Use his above-average movement speed to close distance aggressively rather than tanking hits on the way in; taking damage just charges the enemy’s Super for free. Position near corners and narrow corridors to limit the angles you can be attacked from, and break barriers selectively, opening a path that only benefits your opponent defeats the purpose.
Executing Deadly Combos
Bull’s deadliest plays come from chaining Stomper into a close-range shotgun burst. Activating Stomper slows nearby enemies for 1.5 seconds, or stuns them outright if they were already slowed, giving you a clean window to unload at point-blank range.
Follow the gadget immediately with your primary attack; hesitating wastes the slow entirely. Below 50% health, Damage Gear’s 15% boost stacks with Tough Guy’s 30% damage reduction, which is what makes low-health trades genuinely favorable for Bull rather than a gamble.
In Brawl Ball specifically, use Stomper to disrupt the ball carrier and chain primary shots before they can recover possession. Against a full enemy group, save Stomper for crowd control first and worry about your Super charge second.
Timing Your Super
Three situations call for deliberate Super timing rather than reflexive use:
- Countering incoming crowd control. Activating your Super makes you effectively untouchable to stuns or pulls during the charge animation.
- Closing gaps instantly. Time Stomper just before its knockback ends, then immediately follow with your Super for close to zero reaction window.
- Mode-specific plays. Charge a Heist safe from range, or use Wallbreak to line up Brawl Ball goals through wall bounces.
The general pattern to aim for is Super in, attack, Super out, which minimizes how long enemies have to react. One matchup to avoid entirely: don’t burn your Super chasing Stu, since his dash reliably evades a straight-line charge.
Best Game Modes for Bull in 2026

Mode strength for Bull comes down almost entirely to sightlines. Heist consistently shows up as one of his best modes across current community trackers, maps like Plain Text and Pit Stop give him the close-range approach lanes he needs to pressure a safe directly, and his tankiness lets him soak the counter-push while dealing real damage.
Both Showdown formats suit him for the same reason. Solo Showdown rewards his burst damage in isolated 1v1s once he’s closed distance, and Duo Showdown is arguably his strongest format overall, since a coordinated partner can cover the approach that’s normally his biggest weakness.
Multiple 2026 tier trackers list Bull among the recommended Showdown picks specifically for that reason, rather than as a generic tank filler. If you’re tuning specifically for Solo Showdown, swapping Damage Gear for Health or Shield is a common community adjustment, since there’s no teammate to cover you and staying alive matters more than the extra burst.
Brawl Ball is solid but map-dependent. On tighter maps he functions as a genuine dive threat alongside brawlers like Bibi and Mortis; on wide-open Brawl Ball layouts, the lack of range shows up fast.
Where he consistently struggles: any mode built around open sightlines and poke damage, Gem Grab and Knockout especially, since both let ranged brawlers whittle him down before he ever reaches shotgun range. Hot Zone and Wipeout sit in the same bucket for the same underlying reason. We’re deliberately not attaching a specific win-rate percentage to each of these modes here; see the next section for why.
What the Trackers Actually Show (and Where They Disagree)
Pull up three different Brawl Stars stat sites for Bull and you won’t get three identical answers, and it’s worth being upfront about that instead of picking whichever number sounds most authoritative. As of this write-up, Brawl Time Ninja’s live brawler page puts Bull’s overall win rate at 62.9% with a 1.29% use rate across roughly 2 million recorded picks, a healthy number that doesn’t square with the “struggling in the current meta” framing you’ll find in some older guides.
At the same time, at least one competitive tier list built from top-200 ranked data placed Bull near the top of the tank class earlier in 2026, while a separate August 2026 tier roundup didn’t include him in its S-tier list at all. For where he lands against the full roster on our own rankings, see the Brawl Stars tier list. Both can be true at once: top-200 competitive play and the broader player base don’t always agree on a brawler’s strength, and Bull’s skill ceiling (positioning, bush control, Super timing) means the gap between an average Bull and a good one is unusually wide.
The same inconsistency shows up at the ability level. Two of the trackers we checked for this guide, noff.gg and Brawl Time Ninja, currently list Tough Guy’s shield as triggering below 30% health, while several other Bull guides and wikis still show 40%.
Both numbers have been correct at different points; Supercell has moved that threshold more than once across balance patches (30% to 50% to 40%, per the Brawl Stars Fandom wiki’s changelog), so a site that hasn’t been updated recently is showing a real, just outdated, past value rather than a typo. If you’re theory-crafting a build around exactly when that shield turns on, check the in-game tooltip over any guide, including this one.
That’s also why the win-rate figures for individual modes (Heist, Showdown, Brawl Ball) aren’t given as precise percentages in this guide. An earlier version of this article stated Duo Showdown’s win rate as both 73.4% and 64.2% across two different sections, sourced from neither tracker, which is the kind of internal contradiction that happens when specific-sounding numbers get generated rather than pulled from a live dashboard. We’d rather tell you Bull is a strong, tracker-confirmed Duo Showdown pick than hand you a decimal that doesn’t hold up to a second look.
Who Counters Bull and How to Handle Them

Bull’s counters are exactly what his kit implies: anyone who can keep range and punish him for closing it. Piper, Colt, and Spike are the three that come up most consistently across community guides and tier trackers, all three exploit his close-range dependency by maintaining distance and forcing him into open engagements where his health pool doesn’t help him.
How each one specifically punishes him:
- Piper and Colt apply steady ranged pressure that prevents him from closing distance cleanly, opening burst-damage windows whenever he overcommits.
- Spike’s area denial makes an aggressive rush predictable and punishable, since there’s rarely a clean approach angle left once the area’s covered.
- Belle‘s bouncing shots control his movement paths through corridors, limiting how effectively he can charge his Super in the first place.
If you’re playing Bull into one of these, bait them toward tight spaces where their range advantage shrinks, use walls to close the last stretch of distance quickly, and save your Super specifically for punishing their repositioning rather than opening with it. Team coordination helps too, isolating the ranged threat before it can establish its preferred spacing takes away most of what makes these matchups hard.
Best Teammates and Combos for Bull
Bull’s kit is built to soak damage and force fights, which means his best teammates are the ones who capitalize on the space he creates rather than trying to do the same job he’s already doing. A few pairings show up consistently across community team-comp guides and Supercell’s own published trio recommendations:
- Poco is the single most common answer to “who do I run with Bull.” A tank-plus-healer pairing is one of the oldest patterns in the game for a reason, Poco’s heal keeps you in the low-health window where Tough Guy and Damage Gear are both active, which is roughly the state Bull wants to fight from anyway.
- Colt is the classic tank-plus-marksman split: you absorb the frontline damage while he punishes anything that focuses you down from range. It’s reciprocal too, Colt’s own build guide lists Bull as a recommended frontline partner for the same reason.
- For Brawl Ball specifically, Supercell’s own official team-composition recommendations pair Bull with Tara and Spike: Bull busts through walls to open scoring lanes, Tara’s Super drags defenders out of position, and Spike’s Super slows anyone trying to recover the ball.
- For Heist, that same official source pairs Bull with Barley and Colt: Bull tanks the approach while Barley and Colt chip away at the safe from behind him.
If you’re queueing solo, none of this changes much beyond knowing who to prioritize when your team is picking. If you’re in a party, it’s worth calling these out before the match starts rather than assuming your teammates will fall into position on their own.
Common Mistakes to Avoid With Bull
A few mistakes come up often enough with Bull specifically that they’re worth naming directly, since some of them cut against what feels intuitive:
- Tanking hits on the approach instead of dodging them. It’s tempting to walk straight at an enemy since Bull can survive a few hits, but every hit you take charges their Super for free. Use walls and bushes to close distance instead of your health bar.
- Using Stomper reactively instead of proactively. Waiting until you’re already being circled wastes the gadget’s best property, the stun conversion on a target that’s already slowed. Activate it as you’re closing in, not after the fight has already gone bad.
- Picking Bull on wide-open maps. His whole kit assumes he can reach shotgun range before he’s dead. On a map with no bush coverage and long sightlines, that assumption falls apart before the match even starts.
- Chasing with your Super into nothing. Burning it on a retreating enemy who’s already out of range gives up your best repositioning and crowd-control tool for a trade you were never going to win. Save it for when you can actually catch them.
- Building purely defensive and never closing distance. Health and Shield Gear help you survive, but if you’re not also pressuring the approach, you’re just delaying a loss rather than winning the fight. Bull’s kit is aggressive by design, a fully passive Bull gives up his main advantage.
How to Play Bull at High Trophies Without Getting Kited
At high trophies you’ll run into players who kite consistently, so close distance fast by hugging bushes and using your movement speed to cut off their escape routes early rather than chasing in a straight line. Use walls and obstacles as cover on the approach so you’re not eating free damage before you’re even in range. When they retreat, punish it hard, your Super both knocks them back and breaks through whatever they were trying to escape behind.
Closing Distance Fast
Getting kited is Bull’s single biggest weakness at high trophies. Stomper helps directly here, since it turns your next Super into a stun that cuts off an escape route before the opponent can reposition around it.
Combine Stomper with these priorities when closing a gap:
- Use Tough Guy to absorb damage mid-charge, keeping you alive long enough to actually reach close range.
- Pair an aggressive Super timing with Super Charge Gear if you’re running it, for more frequent engagement windows.
- Lean on burst damage to force a defensive response instead of a clean kite.
Once you’re at close range, Berserker’s doubled reload speed (if you’re running it over Tough Guy) punishes any hesitation from an opponent who’s used to kiting slower brawlers.
Using Cover Effectively
Use cover to break line of sight between charges. When an enemy retreats, don’t follow directly into the open, reposition behind nearby cover first, then cut off their escape route from a new angle instead. That keeps them from freely auto-attacking you while you close in.
Walls also protect your Super charge itself. Absorbing damage behind cover rather than on open terrain keeps you healthier for longer, so favor maps with dense obstacle clusters and try to engage from angles where a retreating enemy runs into a wall, not away from one.
Super Punishing Retreats
High-trophy Bull matches tend to come down to one recurring problem: opponents will always try to kite you. Your Super is the direct counter to that pattern, it sprints you forward, knocks back anyone retreating in its path, and destroys the obstacles they might be trying to hide behind.
Charge it strategically before you commit to an engagement:
- Trade hits against long-range brawlers early, even at the cost of a sacrificial death, if it means entering the next fight pre-charged.
- Activate while enemies are still repositioning rather than already mid-kite, catching them during the transition removes their escape window entirely.
- Use your gadget to cycle Supers faster and keep pursuit pressure relentless rather than giving them a breather.
In Heist, that means dashing straight through walls onto the safe. In Showdown, it means closing instantly on a Piper or Bea before they can establish kiting distance in the first place.
Conclusion
Bull rewards players who commit to closing distance rather than poking from range. Stack Stomper, Tough Guy, and Damage Gear, use walls and bushes to reach shotgun range before your opponent can react, and punish anyone who tries to kite you with a well-timed Super. He’ll lose badly to anyone who keeps him at arm’s length, so the matchup and positioning sections above matter as much as the build itself. Get both right, and the 62.9% win rate the trackers are currently showing starts to make a lot more sense.
Frequently Asked Questions
What Rarity and Unlock Requirements Does Bull Have in Brawl Stars?
Bull is a Rare brawler, unlocked as a Trophy Road reward once you reach 250 trophies. He’s also available through the Brawl Pass as a Rare-tier selection, with no gem or coin cost required beyond that.
Can Bull Be Used Effectively in Trophy Road Progression?
Yes, especially in the 0 to 500 trophy range, where his high close-range damage and health pool tend to overwhelm uncoordinated opponents who haven’t learned to keep distance yet.
Does Bull Have Any Unique Skins Available in 2026?
He does, this is one place an older version of this guide got it wrong. The Kansai Dragon skin released as part of the Retropolis Nights campaign, free for players who reached 750 trophies between February and April 2026, or purchasable for 29 gems afterward. Beyond that, Bull also has Barbarian King, Linebacker, and Viking skins in current rotation, alongside his default look. For how his skins stack up for rarity and value against the rest of the roster, see our rarest Brawl Stars skins ranking.
How Does Bull Perform in Duo or Team Showdown Formats?
Strongly, and consistently enough that multiple current tier trackers list him as a recommended Duo Showdown pick. His tankiness and close-range burst are a good fit for a mode where a coordinated partner can cover the approach that’s normally his weak point. We’re leaving out a specific win-rate decimal here on purpose; see the tracker-discrepancy section above for why.
Has Bull Ever Been Nerfed or Reworked in Past Updates?
Repeatedly, and not in a single direction. His reload time was increased from 1.5 to 1.6 seconds at one point, and his health has gone up and down multiple times across balance passes rather than simply dropping, most recently rising to 5,300 in a December 2025 patch, per Brawl Time Ninja’s balance-change log. His Super has also been reworked over time to its current form, charging forward and damaging or slowing enemies along its path.
