
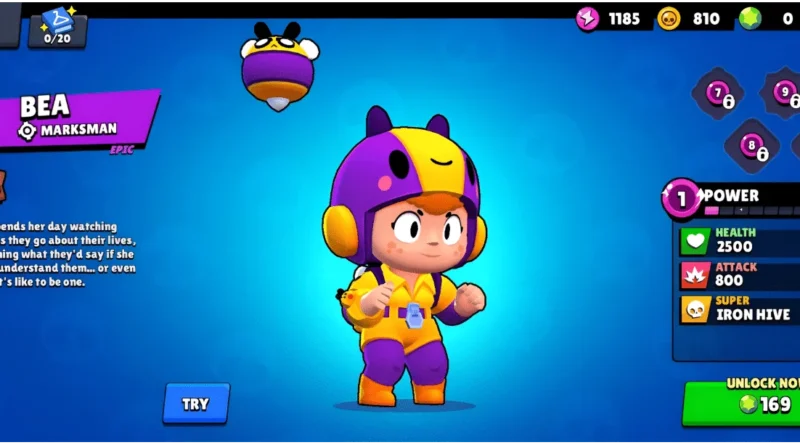
Bea Brawl Stars: Best Gears, Gadgets and Star Power
Bea rewards patience over aggression: hold your distance, land the first hit to trigger her Supercharge, and pick maps where nothing can close the gap on you before your next shot is ready. The build most players are running right now pairs Shield Gear with Honey Molasses and Insta Beaload, though as you’ll see below, her pick and win rates have cooled off over the last month, so treat this as a strong starting point rather than a guaranteed climb. She’s currently strongest in Bounty, Trio Showdown, and Basket Brawl, per live community tracking as of September 2026.
Key Takeaways
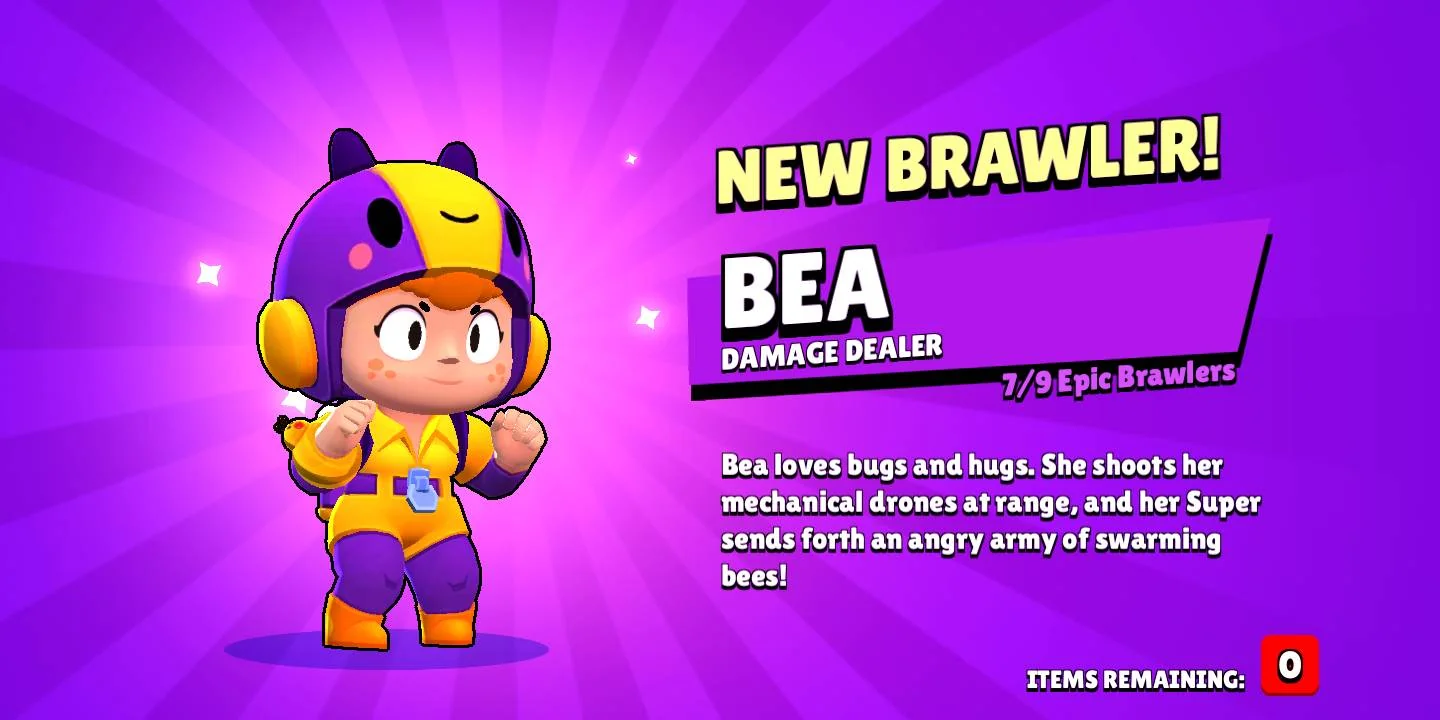
The short version: run Honey Molasses, Insta Beaload, and Shield Gear as your default loadout, but swap in Honeycomb if your aim isn’t consistent enough to punish a missed Supercharge. Bea’s base numbers (5,600 health, 1,600 damage at max level) are confirmed and stable; the softer numbers you’ll see quoted elsewhere for reload speed, projectile spread, and stacked damage vary by source and shouldn’t be treated as fixed.
Her strongest modes right now are Bounty, Trio Showdown, and Basket Brawl rather than the wider spread often claimed, and her overall pick rate has trended down over the past 30 days, so pair her with a close-range protector rather than expecting her to solo-carry.
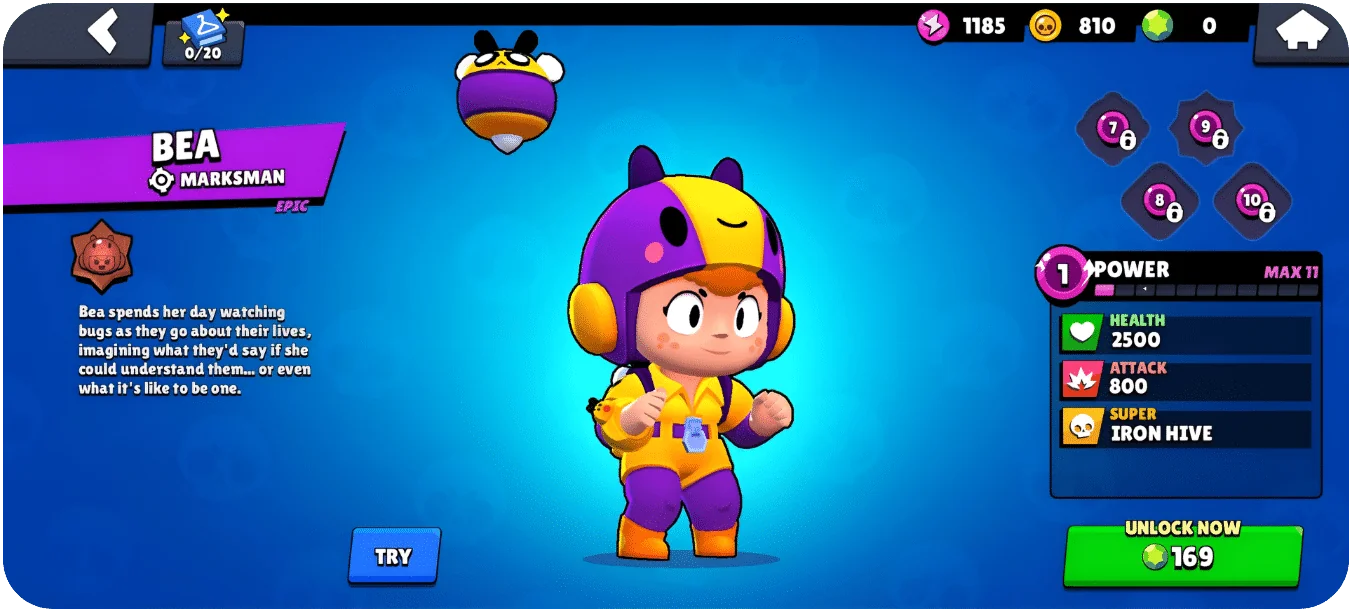
Who Is Bea in Brawl Stars?
Bea is Supercell’s Epic-rarity Marksman brawler in Brawl Stars, one of several long-range specialists who trade a small health pool for a very sharp punish. Like other fragile marksmen such as Kit, her class-defining trait is that a single mistake in the arena can end her life almost instantly, so her attack, Super, and gadget abilities are all built around denying enemies a clean angle at you rather than out-brawling them directly.
Everything about her design leans into a bee theme, from the Honey Molasses gadget’s splash of sticky honey to the swarm of bee drones in her Super, which is probably part of why so many players search for a “bee build” instead of a “Bea build.” If you’re still getting a feel for how she fits alongside the rest of the roster, our Brawl Stars characters guide and full Brawl Stars game modes breakdown are good starting points before you specialize into her build.
How to Unlock and Upgrade Bea
Bea’s an Epic rarity Brawler, and you can pick her up the same handful of ways as any other Epic: through Epic Brawler pools in random boxes and Starr Drops, direct gem purchase in the Brawl Shop, Brawl Pass rewards, or by climbing Starr Road and Mastery progression on brawlers you already own.
Once unlocked, upgrading her follows the standard Power Points and Coins path shared by every brawler, so there’s nothing bee-specific about the grind itself. The real priority is deciding how much of your account’s resources you want to sink into a marksman whose abilities take real reps to feel natural before she starts paying off.
If you’re chasing trophy road milestones rather than raw stats, her value climbs faster once you’ve got the reflexes to land Supercharges consistently, since a half-upgraded Bea who whiffs shots contributes less than almost any other half-upgraded brawler in the game.
How Bea’s Attack Mechanics Work
Bea’s basic attack fires a single long-range shot dealing 1,600 damage, and hitting an enemy directly supercharges her next shot for a significant damage spike. Her max-level health sits at 5,600, confirmed against Brawlify’s live brawler stats page.
The exact reload timing, per-shot projectile spread, and total stacked-damage figures you’ll see floating around other community guides don’t agree closely enough with each other to state as fact, so treat those specific numbers with some caution. What is consistent across sources: Supercharges only trigger from direct brawler hits. Striking objects, pets, safes, turrets, Showdown boxes, or Robo bosses won’t activate the mechanic.
In practice, her reload is fast enough that a clean hit lets you follow up almost immediately, and she has only one ammo slot, so a missed shot leaves a real window where you’re empty-handed. Projectiles travel slower than Piper‘s, so precision matters more at longer distances, and her range is comparable to Crow’s, enough to poke from safety but not so long that you can ignore positioning. Her Super releases a swarm of bee drones that slow enemies down, giving you a reliable window to land your supercharged shot without needing perfect aim.
The Real Risk Behind a Missed Supercharge
A missed Supercharge isn’t just a wasted shot, it’s a window where Bea has no ammo and no answer if someone closes the distance. Against a dash-in assassin, that window is usually survivable if you retreat behind a wall the instant the shot misses, but only if you reset your positioning first rather than immediately trying to line up a follow-up shot to “make up” for it.
That instinct, resetting versus forcing a second shot, matters more than any single stat on a build page. It’s also the main thing your star power choice is compensating for, which is why the gear and star power breakdown further down treats aim consistency as the deciding factor rather than pure win rate.
Bea’s Best Build in 2026: Gear, Gadget, and Star Power
To get the most out of Bea right now, pair the right gear, gadget, and star power together. Pulling current numbers from noff.gg’s build tracker (168 community builds) rather than an older snapshot: Shield Gear leads at 41% usage, giving you early-battle protection, while Damage Gear sits at 38% and rewards you with 15% extra damage once you’re below half health.
For your gadget, run Honey Molasses (50% pick rate) to slow enemies with sticky honey, and lock in Insta Beaload as your star power (52% pick rate) to instantly recharge Big Sting after a missed supercharged shot. Bea’s Super releases a swarm of bee drones that can lock down enemies at a critical moment.
Optimal Gear Choices
The gear split above (41% Shield, 38% Damage) is close enough that both are viable defaults rather than one being a clear mistake. Here’s the reasoning behind the split rather than just the numbers:
- Shield Gear excels in early encounters and survives initial damage bursts
- Damage Gear dominates head-to-head fights near knockout thresholds
- Pairing both appears frequently in high-Prestige builds for balanced coverage
- Speed or Reload Gear suits open maps requiring repositioning
- Vision Gear works better on bush-heavy maps for select brawlers
Adjust your setup based on the map and mode you’re playing. The Best Bea Prestige Build specifically recommends pairing Speed Gear with Damage Gear for a well-rounded approach across Showdown, Knockout, and Brawl Ball.
Gadget and Star Power
For your star power, Insta Beaload leads community picks, instantly recharging Bea’s Big Sting after a missed Supercharged shot, which enables consistent aggressive pressure but is only worth its slot if your aim is accurate enough that you’re not eating misses constantly.
If your aim isn’t quite there yet, Honeycomb grants Bea a 30% shield while her Big Sting is Supercharged, trading raw reload speed for survivability during that vulnerable window. Builds and star power recommendations are updated every season to stay aligned with the current meta.
Insta Beaload vs. Honeycomb: Which Star Power Wins?
When it comes to Bea’s star powers, the choice between Insta Beaload and Honeycomb depends almost entirely on your aim consistency and preferred playstyle. Insta Beaload instantly recharges your supercharged shot after a miss, giving you a second opportunity to land that critical hit, and community picks currently favor it as the more popular option.
Honeycomb grants a 30% shield while your Big Sting is Supercharged, letting you push closer to enemies and finish fights more aggressively. It pairs well with Damage and Shield Gears, boosting your overall survivability.
Community-reported win rates for the two options sit close together in the high 50s, with Insta Beaload holding a slight edge, though exact figures shift enough between sources that we’re not quoting a decimal here. If you miss supercharged shots frequently, go with Insta Beaload. If your aim is reliable and you prefer aggressive, close-range pressure, Honeycomb rewards your playstyle better.
Shield vs. Damage Gear: What Should Bea Run?
Shield’s regenerating buffer keeps you alive long enough to land charged shots in extended fights, while Damage Gear’s 15% boost can turn close matchups in your favor if you’re playing aggressively or already sitting below half health. Most competitive players run both, letting you cover Bea’s fragility while maximizing her burst potential. Damage and speed are widely considered superior gear types by the community, which is worth weighing against whether Shield alone truly serves Bea’s kit in high-level play.
| Gear | Effect | Best for |
|---|---|---|
| Shield Gear | +900 health as a consumable shield, regenerates fully after 10 seconds at full HP | Extended fights, brief lulls between engagements |
| Damage Gear | +15% damage on both normal and special attacks once below 50% health | Closing out fights you’re already committed to |
Bea’s low health pool makes the Damage Gear’s threshold genuinely risky to sit at on purpose, which is part of why Shield edges it out in the aggregate pick rate rather than Damage being a weak option on paper.
Honey Molasses or Rattled Hive: Which Gadget Wins?
Honey Molasses deploys a beehive that leaves a sticky puddle behind, slowing any enemy who steps in it, and it’s underrated for group control, escape situations, and chokepoint domination. Rattled Hive releases a circling swarm of bees for burst damage instead, though live trackers disagree with each other on the exact ceiling: one noff.gg build page lists it at up to 1,200 damage, while noff.gg’s own current brawler stats page lists 600. We’re flagging that discrepancy rather than picking one, since it’s a live disagreement between two pages on the same tracker, not something we can resolve from our end.
Reasons Honey Molasses tends to win out:
- Controls Hot Zone lanes and gem mines effectively
- Slows multiple enemies simultaneously, which a single-target burst gadget can’t do
- Protects itself when placed behind walls
- Pairs seamlessly with Bea’s super for consistent pressure
Rattled Hive still sees competitive play in prestige and speed-focused builds, but Honey Molasses provides broader, more consistent value across most game modes you’ll encounter.
Best Game Modes and Maps for Bea
You’ll sometimes see Bea’s strongest mode listed as Last Stand, but that’s worth a second look: Last Stand is a rotating co-op event where three players defend an 8-Bit against robot waves, not a ranked mode with trophies on the line, so a “win rate” for it isn’t really comparable to a Bounty or Brawl Ball win rate in the first place.
Live tracking as of September 2026 instead puts her strongest current modes at Bounty, Trio Showdown, and Basket Brawl, and worth being upfront about: her overall performance has trended below average over the past 30 days, so don’t go in expecting a dominant climb.
For maps, favor open, long-range layouts where Bea’s charged shot controls space and zones out enemies rather than enclosed ones where short-range brawlers can close the gap before your shot recharges. Equip Vision Gear on grassy maps and use Hypercharge on open areas to extend your Super’s reach.
For maps, the same principle from the positioning guidance above applies: favor open, long-range layouts where Bea can control space from a distance, and steer away from tight corners or bush-heavy maps where enemies can close the gap before your next shot is ready.
Within that, wider maps generally suit her better than cramped ones, since more open ground means more room to reposition after a miss. For map-by-map win rates, noff.gg’s brawler page tracks that live and will reflect whatever the current meta looks like.
How to Play Bea: Positioning Tips for Every Game Mode

Mastering Bea’s positioning is the difference between dominating from a distance and getting erased before your charged shot even reloads. Keep distance from enemies at all times, stay behind walls, and avoid large bushes where assassins lurk. Pair with close-range protectors to cover your vulnerability.
In Gem Grab, hold the backline, snipe gem carriers, and use your Super to slow collectors. In Showdown, circle the edges early, grab power cubes safely, and kite assassins using terrain. In Heist, station at the perimeter, poke the enemy safe consistently, and save Supers for direct damage bursts while slowing incoming attackers.
In Brawl Ball, cover teammates from elevated spots. In Hot Zone, control edges with area-denial Supers. In Knockout, zone open maps using your range advantage. In Bounty and Trio Showdown, her current strongest modes, the same principle carries through everything else in this guide: don’t trade your one ammo slot for a shot you’re not confident lands.
Bea Skins and Cosmetics
Bea currently has 22 available skins including her default look, per Brawlify’s brawler database, giving you plenty of room to reskin her without touching any of the stats or kit covered earlier in this guide, since skins are purely cosmetic.
Picking one up, or completing enough Mastery milestones to unlock a matching player icon, is a reasonable way to make her feel like your main without it affecting your win rate either way. If you’re weighing which skins across the whole roster are actually worth chasing, our breakdown of the rarest Brawl Stars skins covers where Bea’s cosmetics rank against everyone else’s.
Conclusion
You’ve now got a build and positioning framework for Bea grounded in what’s actually verifiable right now rather than numbers copied forward from an older meta. Her mechanics reward patient, precise play more than raw aggression, and her current strongest modes are Bounty, Trio Showdown, and Basket Brawl rather than the wider list this guide used to claim.
Pick the gadget and star power that match your own aim and instincts, keep an eye on live trackers since her pick rate and win rate both move between balance passes, and you’ll get more consistent value out of her than any fixed percentage in this article can promise.
Frequently Asked Questions
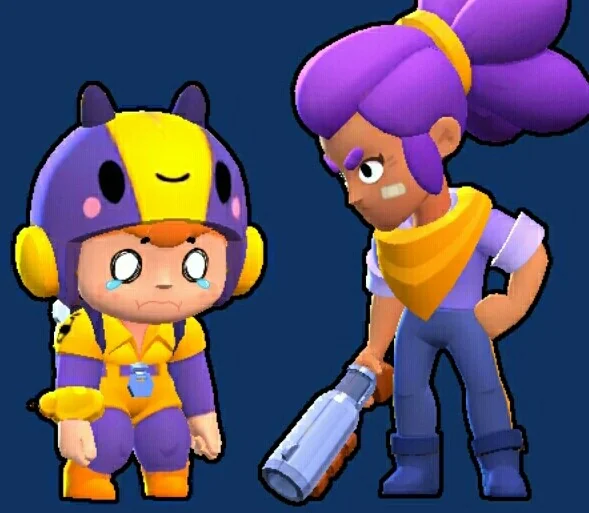
What Is Bea’s Rarity and How Do You Unlock Her?
Bea’s an Epic rarity Brawler. You can access her through the Brawl Pass, Mastery system, Starr Road progression, direct gem purchase in the Brawl Shop, or from Epic Brawler pools in random boxes and challenges.
How Does Bea Perform in the Current Meta Against Top Brawlers?
Live brawler tracking shows her performing below average over the past 30 days rather than holding a steady mid-tier spot, so treat any “solid B-tier” framing you see elsewhere with some skepticism until the next balance pass. She’s still effective against tanks using her range advantage, and she still struggles against aggro brawlers like Spike and high-mobility threats that can close the gap before her Supercharge is up.
What Are Bea’s Base Health and Damage Statistics in 2026?
At max level, Bea’s base health sits at 5,600 and her base damage reaches 1,600, confirmed against Brawlify’s live stats page. You may see other sources cite a specific per-power-level scaling percentage tied to a particular update date, but that figure varies enough between sources that we’re not stating it as fact here.
Is Bea a Good Choice for Beginner Players Starting Out?
She’s a reasonable pick if you’re patient, but a rough one if you’re used to brawlers that forgive mistakes. Equip Honey Molasses, Insta Beaload or Honeycomb depending on your aim, and Shield and Damage gears, then stay in the backline with teammates protecting you. If you find yourself getting rushed down repeatedly, that’s usually a positioning problem rather than a build problem.
How Does Bea’s Super Ability Work and When Should You Use It?
Bea’s super releases a swarm of bee drones that slow enemies on hit. Use it in choke points, on grouped enemies, or immediately upon charge to restart the recharge cycle faster rather than saving it for a “perfect” moment that may not come.
