

Bo Brawl Stars: Complete Guide, Best Build and Tips (2026)
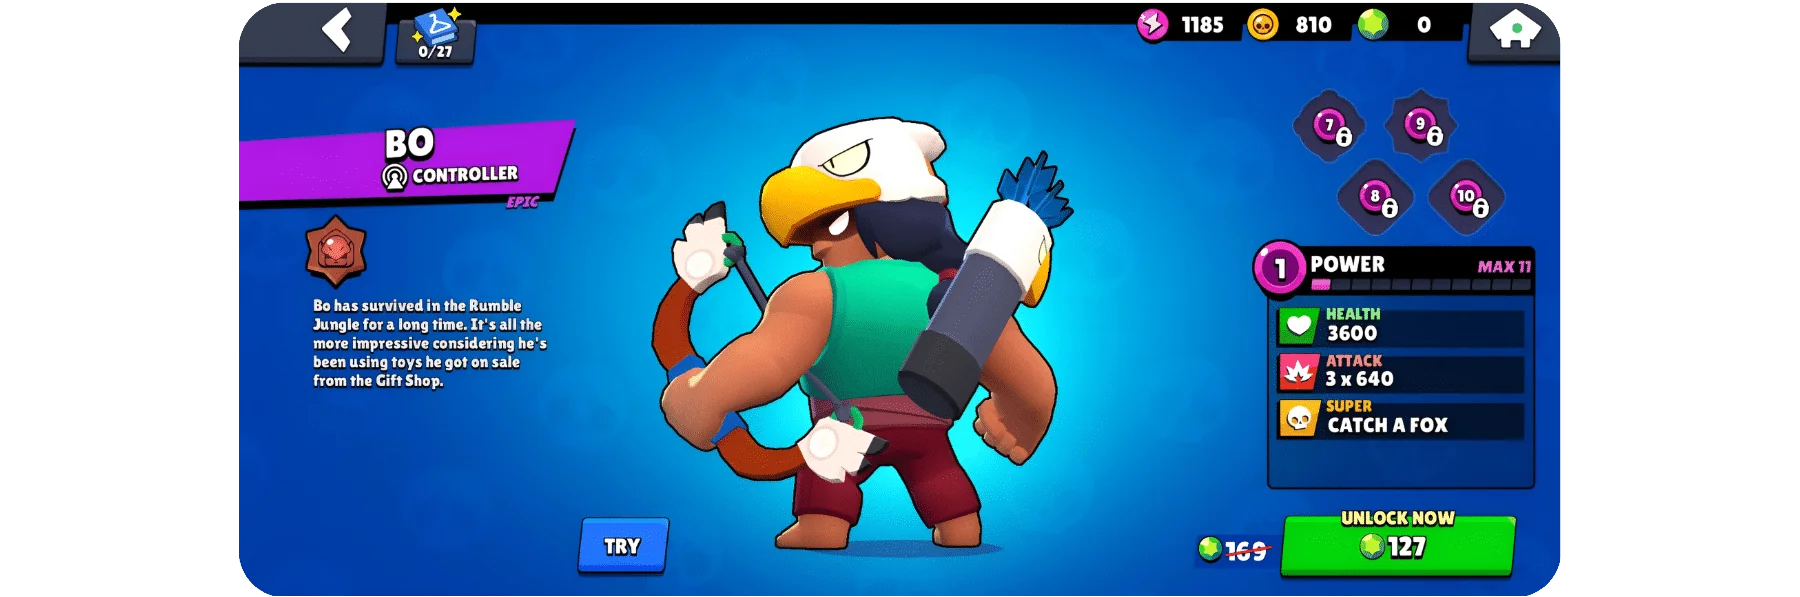
You’re playing one of the most versatile controllers in the 2026 Brawl Stars meta when you pick Bo. He excels at bush control, long-range zoning, and trap placement on maps like Double Swoosh and Sneaky Fields. Run Tripwire as your gadget, Snare A Bear as your Star Power, and Reload Speed plus Damage Gears for the strongest build. Stick around, and you’ll uncover everything you need to dominate with Bo this season.
Key Takeaways
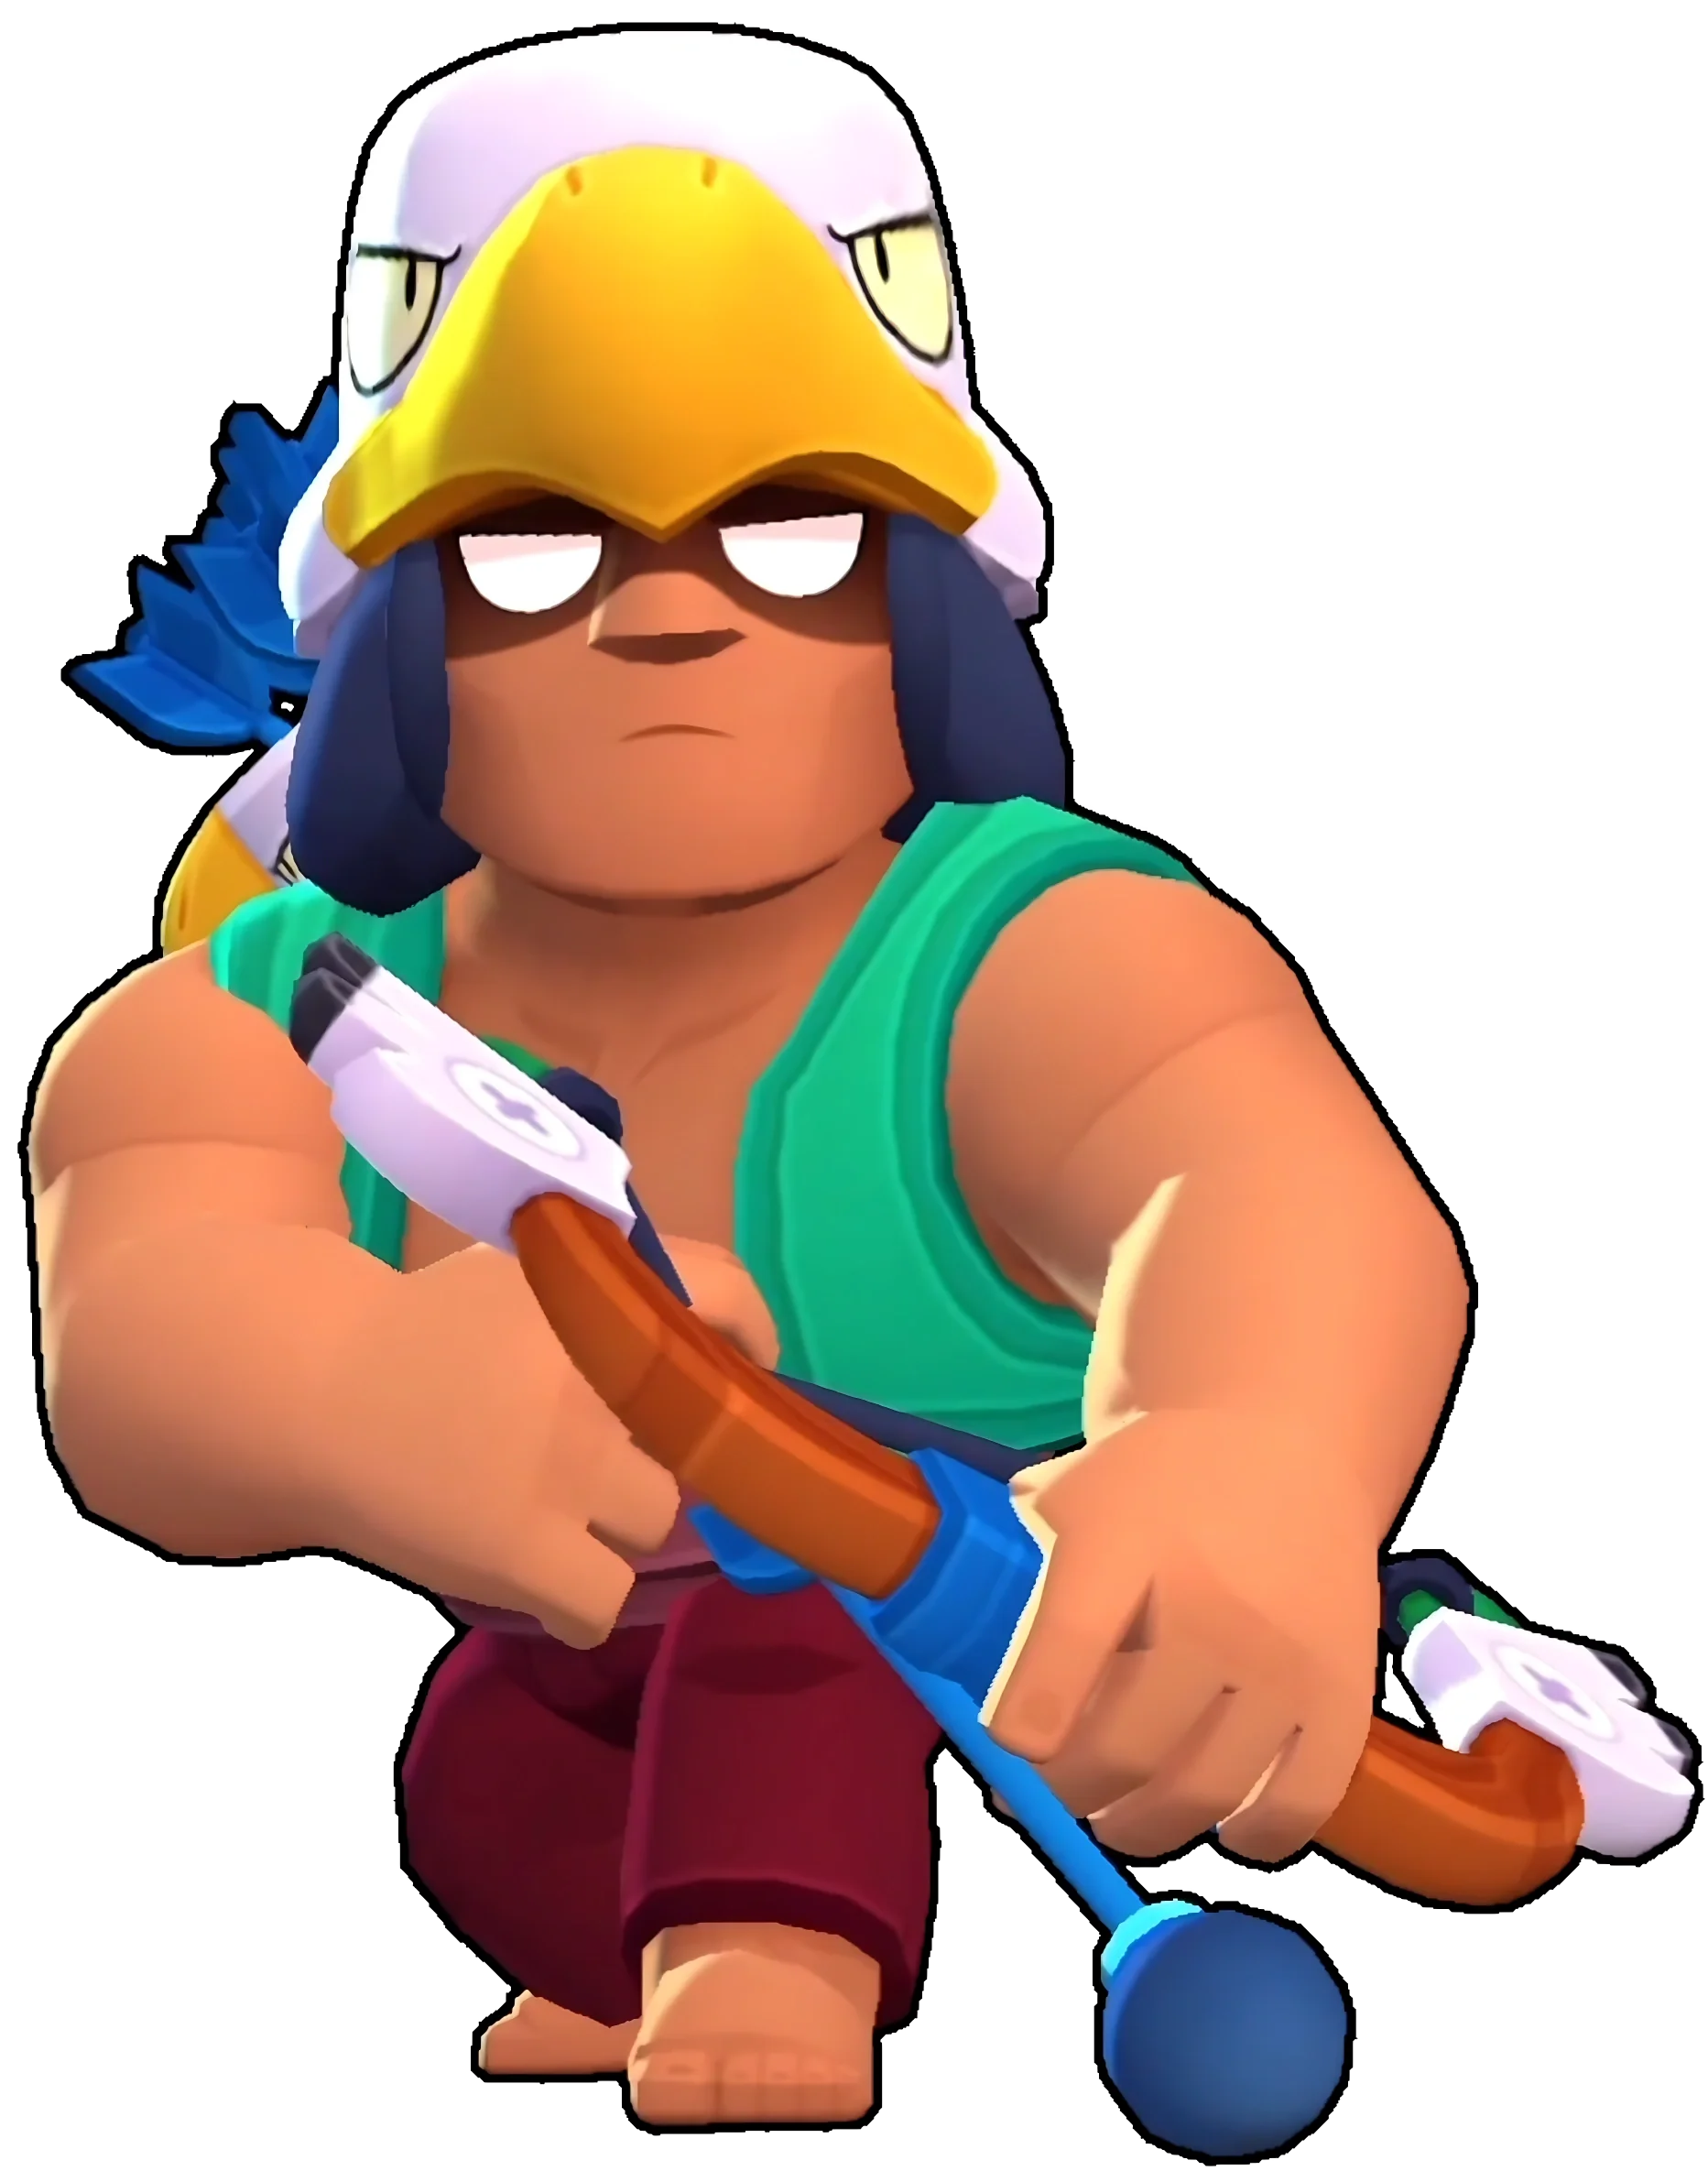
- Bo’s best build uses Tripwire gadget, Snare A Bear star power, and Reload Speed plus Damage gears for optimal performance.
- Bo excels on bush-heavy maps like Double Swoosh and Sneaky Fields, especially in Gem Grab and Bounty modes.
- Place Bo’s mines at choke points and Hot Zone entrances to force enemies into predictable, trap-vulnerable paths.
- Bo pairs best with frontline brawlers like Bull or Darryl and long-range teammates who benefit from his vision control.
- Prioritize upgrading Bo to Power 9 for his Star Power before pursuing Power 10 or 11 upgrades.
Bo’s Role and Strengths in the 2026 Meta
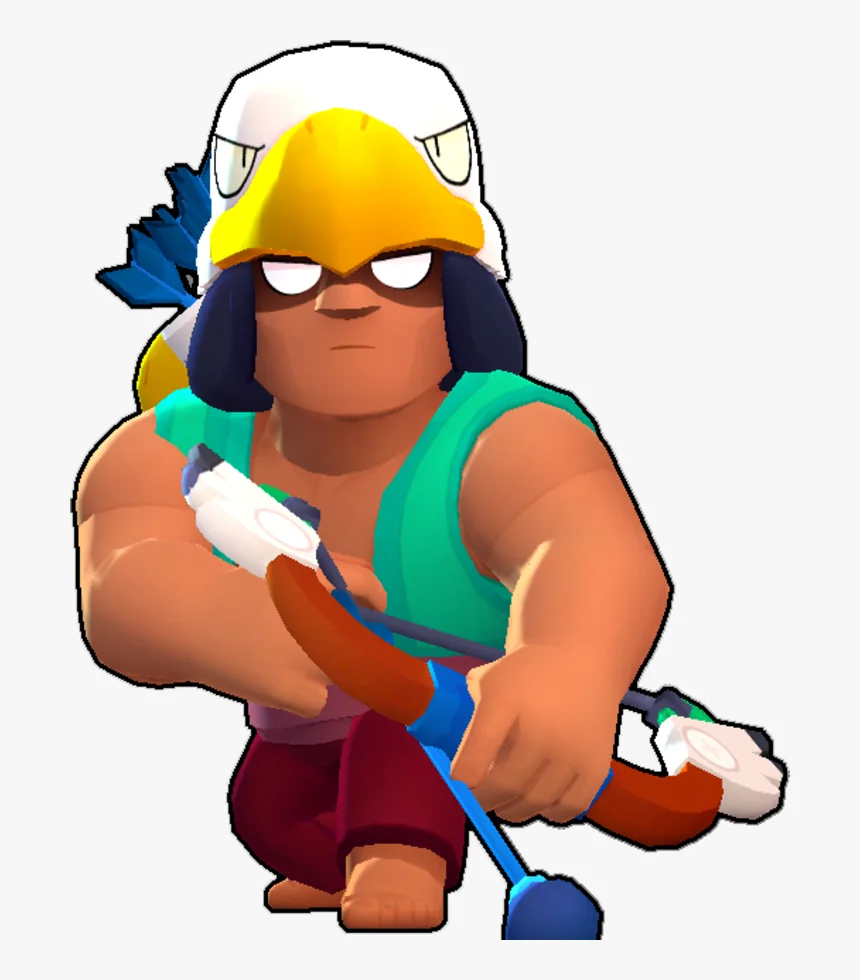
Bo sits comfortably in the top 10 Brawlers of the April 2026 meta, ranking among popular picks like Mandy, Piper, and Tick. He fills the controller role effectively, giving you reliable area control and long-range zoning in competitive team compositions. Data from 200 top players worldwide confirms his viability, making him a strong choice if you want consistent results at high-level play.
His biggest strengths come from two core abilities. First, his passive vision lets you and your allies spot enemies five tiles into bushes, well beyond the standard two-tile limit. That early detection prevents ambushes and gives your team a clear information advantage on bush-heavy maps. Second, his Super deploys traps that force opponents to slow down or completely reroute, buying your team valuable time to reposition and prepare attacks. Pair him with Pierce or Brock, and you’ve got a powerful long-range zoning setup. When building your roster around Bo, prioritize Brawlers with win rates above 60%, such as Juju, Lumi, and Lola, to maximize your team’s overall effectiveness.
Bo’s Boomerang Attack: Range, Damage, and Piercing Explained
Despite its name, Bo’s main attack isn’t a boomerang at all—it fires three explosive arrows in a sweeping left-to-right spread, each exploding on impact with a 1-tile splash radius. Each arrow deals 640 base damage, totaling 1,920 if all three connect. The attack completes in 0.9 seconds with a slow cooldown, so positioning matters.
Bo’s classified as long range, and you’ll get the most out of him by staying at the edge of that range. At longer distances, the sweep spreads wider, making it easier to hit grouped targets with multiple arrows. Landing all three on a single enemy stacks damage considerably.
Arrows don’t pierce—they explode on impact only, applying splash damage rather than cutting through targets. With the Buffie gadget equipped, you get a fourth arrow, expanding your coverage and making Bo even more effective against clustered enemies in the 2026 meta. Bo’s reload speed was decreased by 13% back in June 2017, which has shaped how carefully players need to time their shots between volleys.
Bo’s Best Build: Gadget, Star Power, and Gears

Knowing how Bo’s arrows work is only half the battle—pairing him with the right gadget, star power, and gears is what separates a good Bo player from a great one.
For your gadget, run Tripwire. It triggers all mines after 1.5 seconds and stays undetectable during that delay, appearing in 54% of community builds. Super Totem works as a backup, but Tripwire‘s the stronger pick.
Your star power should almost always be Snare A Bear. It stuns enemies for 2 seconds instead of knocking them back, boasting a 78% pick rate and leading win rates in ranked play.
For gears, slot in Reload Speed and Damage. Reload Speed compensates for Bo’s slow reload and small attack spread, while Damage Gear adds 15% extra damage when you’re below 50% health. Swap Damage for Shield if you need extra survivability. If you unlock Bo’s hypercharge, his super deploys five traps instead of three, covering significantly more ground and making it even harder for enemies to avoid his mines.
Bo’s Hypercharge: What Circling Eagle Does and When to Use It
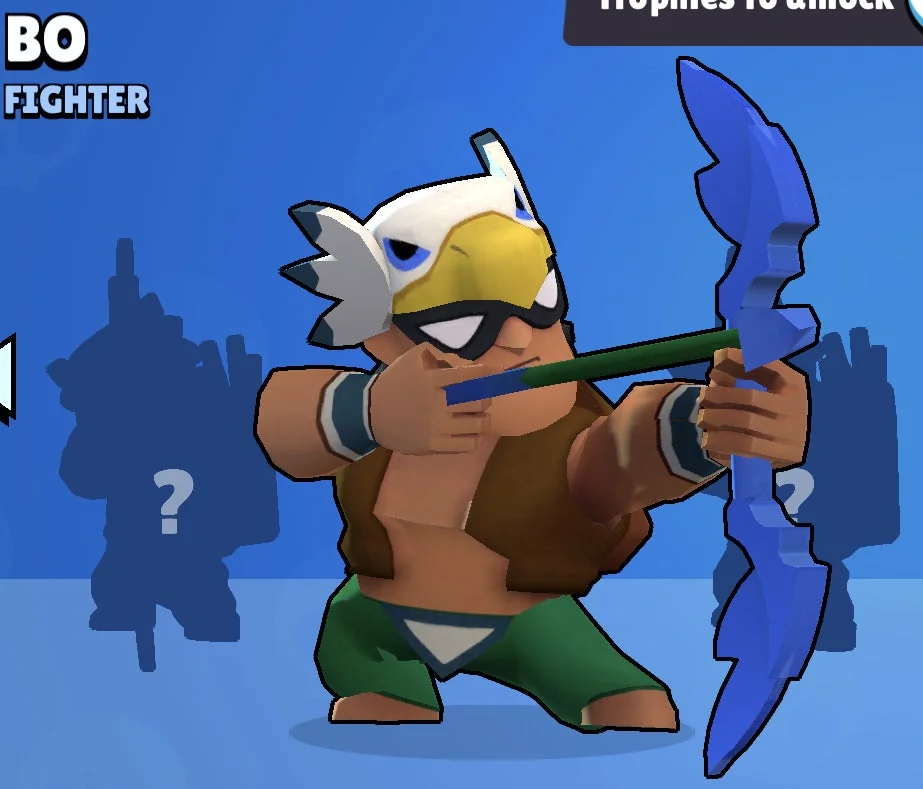
Bo’s Hypercharge activates Circling Eagle, which extends his bush vision from 2 tiles to 5 tiles — a 150% increase that lets you spot enemies far earlier than usual. You’ll want to trigger it the moment your Super fully charges during a team fight, especially on bush-heavy maps like Snake Prairie or Cavern Churn. Once active, use the revealed enemy positions to place your 5 Hypercharge traps precisely, funneling opponents into kill zones before they even know you’ve seen them. His Star Power Snare A Bear adds an additional layer of threat by stunning enemies caught in traps for 2 seconds, making escaping your kill zones nearly impossible.
Circling Eagle Explained
Circling Eagle is one of Bo’s 2 Star Powers, and it lets him spot enemies hiding in bushes from 150% further away than normal — giving you a massive vision advantage before enemies even know you’re watching. The buffed version takes it further by keeping Bo hidden even when he’s attacking from bushes, meaning you’re dealing damage without revealing your position.
Pair this with the Vision Gear, and you’re controlling entire sections of bush-heavy maps in Bounty and Gem Grab before fights even start. Enemies can’t flank what they can’t see, and Bo punishes that blind spot hard. During Hypercharge, Circling Eagle integrates seamlessly — you maintain dominant sight lines while hitting harder and staying concealed, making every bush on the map a potential threat you control. Bo’s other Star Power, Snare A Bear, complements this setup by stunning enemies for 2 seconds when they step on his mines, turning your vision advantage into guaranteed crowd control.
Best Activation Timing
Getting the most out of Circling Eagle’s concealment advantage means knowing exactly when to pop your Hypercharge — because timing it wrong wastes one of Bo’s biggest strengths. In 3v3 bush maps, activate it the moment you enter bush coverage so teammates immediately share your expanded vision. In Bounty, trigger it at match start to lock down positioning before anyone dies. In Showdown, save it for mid-to-late game when poison forces enemies toward the center, where your vision dominates. Always activate before your team engages — not after — so allies can preemptively fire on spotted enemies. Never pop it at close range against tanks or high-damage brawlers. If your team’s pushing, you’re already too late.
The Best Maps to Play Bo This Season
Bo thrives on maps that play to his strengths, so you’ll want to prioritize bush-heavy layouts like Double Swoosh, Sneaky Fields, and Dueling Beetles where Circle Eagle gives you a massive vision advantage. In open lanes, stick to modes like Bounty and Knockout where his long-range mine placement controls space and punishes exposed enemies. Mode-specific picks like Bridge Too Far on Heist and Shooting Star on Bounty round out your strongest map choices this season.
Top Bush Maps
Where you drop Bo on the map makes or breaks your game. Bo thrives in bush-heavy environments where his passive ability, Circling Eagle, reveals hidden enemies before they see you coming. This intel advantage turns bush control into a strategic weapon rather than a guessing game.
Unfortunately, specific bush map rankings and performance statistics for Bo aren’t available in current sources, so pinpointing exact top-performing maps this season isn’t possible without risking inaccurate recommendations. Map rotations also shift frequently, meaning yesterday’s top pick may not reflect today’s meta.
Your best move is checking the in-game map stats and community tier lists on platforms like Brawlify or Starr List, where real-time win rates help you identify which bush-heavy maps currently favor Bo’s kit.
Open Lane Picks
Five maps stand out this season as Bo’s strongest open lane picks, each rewarding aggressive mine placement and lane control.
- Cavern Churn – 60% win rate in Gem Grab; open lane structure makes mine placement highly effective
- Rustic Arcade – leads with a 71.8% win rate; narrow passages amplify trap control and lane dominance
- Open Zone – 63.4% win rate; forced routes maximize Super effectiveness at lane entrances
- Ring of Fire – consistent Hot Zone pick with a 56.8% win rate; tight paths limit enemy dodging
- Dueling Beetles – high ranked viability; Circling Eagle utility shines while controlling key passageways
You’ll notice each map punishes enemies who challenge Bo’s lanes, giving you a structural advantage before a fight even begins.
Mode-Specific Map Choices
Choosing the right map matters as much as choosing the right build, and Bo thrives in different modes for different reasons. In Gem Grab, target bush-heavy maps like Double Swoosh and Sneaky Fields, where Circling Eagle and trap placements boost your win rate by 5-7%. In Bounty, Hideout and Shooting Star let your totems control mid-range sightlines while Snare A Bear stuns chokepoints at a 77% pick rate. Knockout maps favor Bo heavily, with real-time data showing him in the top 10 on 70% of rotations this season. On Heist and Hot Zone, drop traps at safe entrances and chokepoint zones to force route changes, lock down objectives, and control 30-40% more ground with Catcher supers.
How to Use Bo’s Super Without Wasting It

Bo’s Super shines when you place his traps at choke points, forcing enemies into predictable paths where all three mines can connect. Hitting one enemy with all three fully recharges your Super instantly, letting you cycle multiple uses per match. Use the Tripwire Gadget strategically—detonate after two hits to bank two-thirds charge, then finish with basic attacks for a full reload.
Key ways to avoid wasting Bo’s Super:
- Center-cluster all three mines for an instant Super recharge on a single target
- Activate Tripwire after your Super to leave one hidden trap, baiting enemies
- Pair with Snare Bear to stun enemies for 2 seconds, guaranteeing mine contact
- Combine with Tara‘s pull to drag enemies directly onto placed traps
- Deploy near Hot Zone areas to force zoning decisions and maximize multi-hit potential
Precise placement turns Bo’s Super from average to match-defining.
How to Level Bo: Upgrade Priority From Power 7 to Power 11
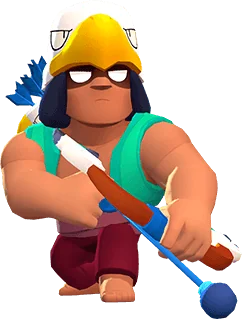
Leveling Bo efficiently means knowing which power thresholds actually matter. Hit Power 7 first — it’s your cheapest meaningful upgrade, enabling Bo’s first Gadget slot for 520 Power Points and 1,040 Coins from Power 1. Buy the Gadget immediately for 1,000 Coins since it directly impacts gameplay.
Hit Power 7 first — it unlocks Bo’s Gadget slot for just 520 Power Points and 1,040 Coins.
Push Bo to Power 8 next to open his first Gear slot, requiring 860 total Power Points and 1,840 Coins. Grab a Shield or Speed Gear to strengthen Bo’s survivability on the field.
Power 9 grants Bo’s first Star Power for 1,410 Power Points and 3,090 Coins — prioritize this since Star Powers define Bo’s playstyle. Power 10 adds a second Gear slot at 2,300 Power Points and 4,965 Coins, completing his passive setup.
Only chase Power 11 if Bo’s Hypercharge is available, since the stat increase alone doesn’t justify the 3,740 Power Points and 7,765 Coins investment.
Where Bo Belongs in a Team and Who He Works Best With
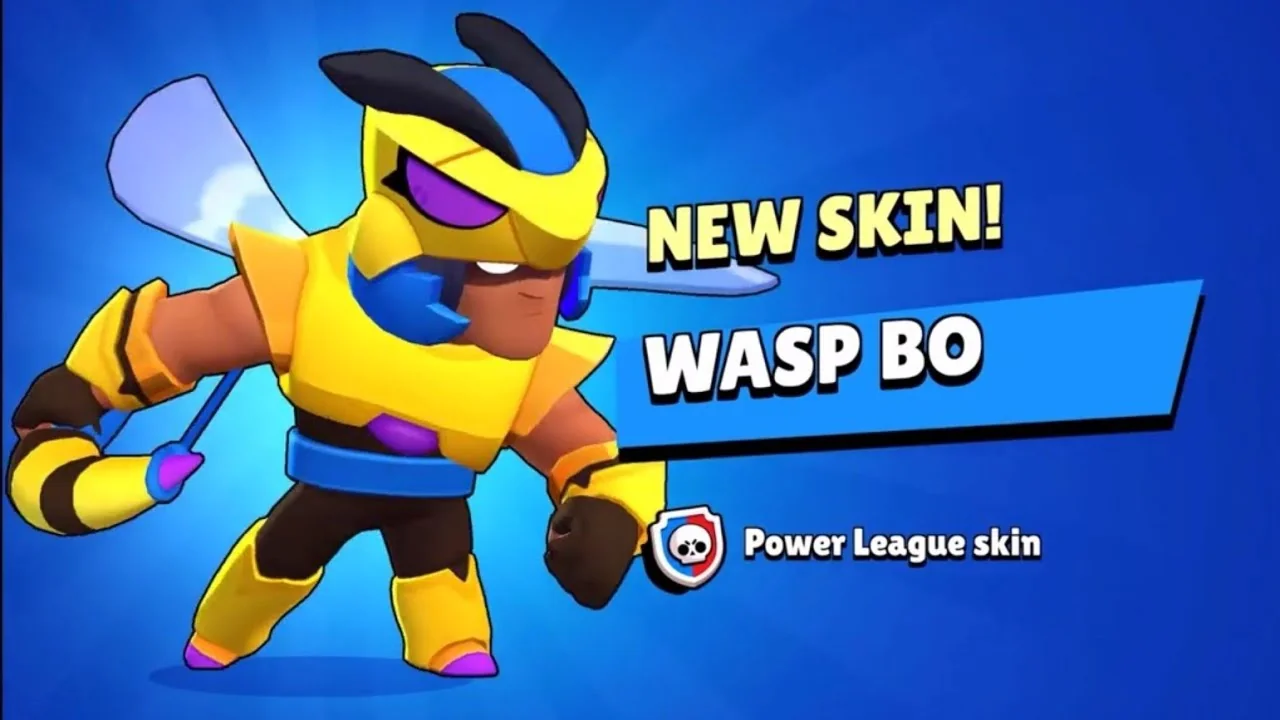
Once you’ve hit Bo’s key power thresholds, knowing where he fits in a team makes those upgrades pay off. Bo thrives as a vision support brawler who controls space rather than chasing kills. Pair him near teammates so Circling Eagle reveals bushes 5 tiles ahead, giving your whole team a sight advantage.
Bo works best alongside:
- Bull or Darryl – tanks frontline while Bo covers their blind spots with vision
- Gem carriers – mines block flanking routes, keeping your carrier safe
- Long-range brawlers – Bo’s traps clear cover so they land shots freely
- Pick-focused teammates – Snare a Bear’s 2-second stun creates instant 3v4 windows
- Side-lane controllers – mines and vision together win flanks consistently
In Gem Grab, support your carrier. In Brawl Ball, walk the ball while traps deny goals. Bo’s role shifts by mode, but his utility stays constant.
How to Push Bo Trophies: Target Maps, Goal Thresholds, and Matchups
Pushing Bo trophies efficiently starts with map selection, because the right map turns his kit into a consistent advantage rather than a situational one. Target bushy maps like Cavern Churn, Feast or Famine, Island Invasion, Snake Prairie, and Sapphire Plains. Circling Eagle doubles your vision radius in bushes, letting you spot enemies before they reach you. Maps with limited passageways also work well, since your traps can cover entire lanes while you maintain that sight edge.
Set progressive trophy goals to stay consistent. Start by getting all your Brawlers to 100+ trophies, then push toward 200+, and later 250+. This incremental approach keeps advancement sustainable rather than overwhelming.
Avoid close-range fights against tanks and high-damage Brawlers on bushy maps. Stay distant, use your vision advantage, and let your traps do the heavy lifting. Platform-specific map rotations affect availability, so check which of your target maps are currently active.
Frequently Asked Questions
Can Bo Be Used Effectively in Ranked Mode for Competitive Play?
You can use Bo effectively in ranked, but he’s a secondary pick. He excels at zoning and mine utility, though you’ll rely on team synergy since he can’t solo carry against stronger meta options.
What Is Bo’s Unlock Requirement on the Trophy Road Progression System?
You’ll access Bo using Credits earned from Trophy Road milestones. While the exact threshold isn’t confirmed in available data up to 770 Trophies, higher-tier milestones beyond that range contain Bo’s access requirement.
How Does Bo’s Mastery System Reward Players With In-Game Resources?
As you level up Bo’s mastery, you’ll earn Coins, Power Points, Credits, Pins, Icons, and Titles. However, Facepalm Pins, secondary Icons, and Titles now come from Boss, Master, and Unstoppable Records instead.
Which Progression Systems Should Bo Players Prioritize for Fastest Rewards?
Prioritize Bo’s masteries first, pushing him to Bronze One for quick coins. Then focus on Brawl Pass daily wins and trophy road boosts to stack credits, gems, and star drops faster.
Does Bo’s Mastery Progression Directly Impact Overall Account Level Gains?
Bo’s Mastery progression doesn’t directly impact your overall account level gains. You’ll earn account XP solely from playing matches. However, Bo’s Mastery rewards you with Coins and Power Points, accelerating his upgrades and strengthening your overall progression.
Conclusion
Bo’s one of those brawlers who rewards you for mastering his kit rather than just spamming attacks. Once you’ve locked in the right build, learned his best maps, and figured out when to drop his Super, you’ll start climbing fast. Use this guide as your reference, apply what you’ve learned in real matches, and adjust based on what you’re facing. Your trophy count will reflect the work you put in.
