
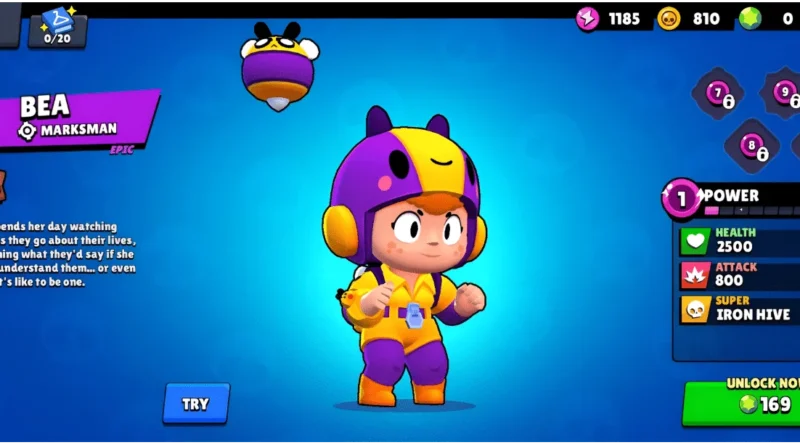
Bea Brawl Stars: Best Gears, Gadgets and Star Power
Bea works best when you keep your distance, land charged shots on isolated targets, and pick maps that reward precision. Run Shield Gear, Honey Molasses, and Insta Beaload for the strongest all-around build in 2026. She excels in Last Stand, Brawl Ball, and Bounty, where her long-range pressure is hardest to counter. Stick around and you’ll find everything you need to master her completely.
Key Takeaways
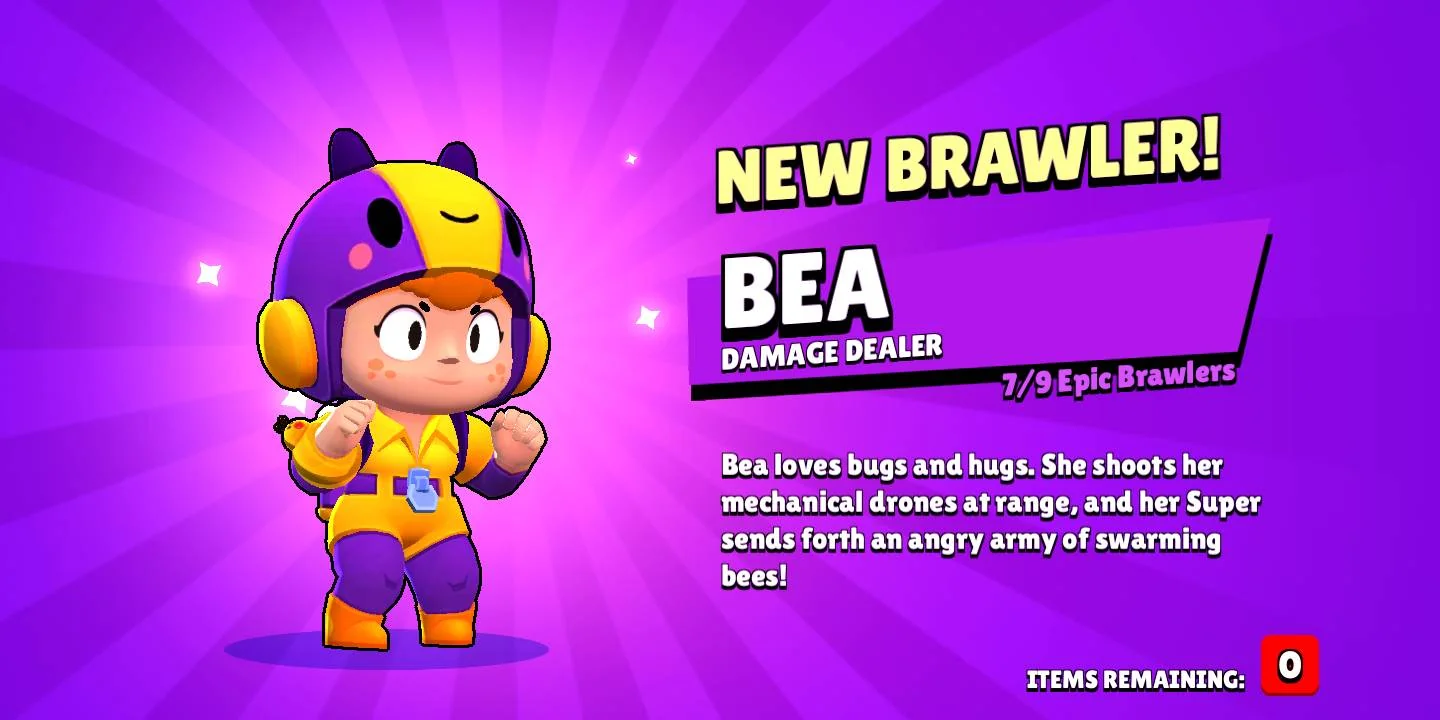
- Bea’s best build in 2026 uses Honey Molasses gadget, Insta Beaload star power, and Shield Gear for optimal survivability and performance.
- Her basic attack deals 1,600 damage, while a supercharged Big Sting shot delivers 4,000 damage to punish isolated targets.
- Bea excels in Last Stand, Brawl Ball, and Bounty, with top map picks including Rustic Arcade and Rooftop Runners.
- Maintain backline positioning, use walls for cover, and pair Bea with close-range brawlers to maximize her effectiveness.
- Insta Beaload star power recharges Big Sting after a miss, while Honeycomb grants a 30% shield when supercharged.
How Bea’s Attack Mechanics Work

Bea’s basic attack fires a single long-range shot dealing 1,600 damage, and hitting an enemy directly supercharges her next shot to deal 4,000 damage. Her reload speed runs about 1.16 seconds, keeping pressure consistent despite having only one ammo slot. Note that supercharges only trigger from direct brawler hits — striking objects, pets, safes, turrets, Showdown boxes, or Robo bosses won’t activate the mechanic.
Her attack spreads four projectiles per cell, each dealing 346 damage, totaling 1,384 damage from spread alone. Projectiles travel slower than Piper’s, so precision matters more at longer distances. Her range extends 8⅓ tiles, comparable to Crow’s, making mid-range positioning your sweet spot for consistent damage output.
Four consecutive shots within five seconds can stack up to 8,400 total damage, but missing your supercharged shot resets the scaling, so timing each shot carefully is critical. Her Super releases a swarm of bees that slow enemies down, giving you a reliable window to land your supercharged shot without needing perfect aim.
Bea’s Best Build in 2026: Gear, Gadget, and Star Power
To get the most out of Bea in 2026, you’ll want to pair the right gear, gadget, and star power together. Shield Gear leads at 42% usage, giving you early-battle protection, while Damage Gear at 37% rewards you with 15% extra damage when you’re below half health. For your gadget, run Honey Molasses to slow enemies with sticky honey, and lock in Insta Beaload as your star power to instantly recharge Big Sting after a missed supercharged shot. Bea’s Super releases a giant stunning bee that can lock down enemies at a critical moment.
Optimal Gear Choices
Choosing the right gear setup for Bea in 2026 can greatly impact your performance, and the data from 102 user-created builds makes the decision clearer. Shield Gear leads at 40% usage, offering 900 extra health that regenerates after 10 seconds at full health. Damage Gear follows at 37%, dealing 15% extra damage below 50% health. Here’s how to approach your gear choices:
- Shield Gear excels in early encounters and survives initial damage bursts
- Damage Gear dominates head-to-head fights near knockout thresholds
- Pairing both appears frequently in Prestige builds for balanced coverage
- Speed or Reload Gear suits open maps requiring repositioning
- Vision Gear works better on bush-heavy maps for select brawlers
Adjust your setup based on the map and mode you’re playing. The Best Bea Prestige Build specifically recommends pairing Speed Gear with Damage Gear for a well-rounded approach across Showdown, Knockout, and Brawl Ball.
Gadget and Star Power
For your star power, Insta Beaload leads at 52%, instantly recharging Bea’s Big Sting after a missed Supercharged shot, enabling consistent aggressive pressure. It’s best suited for players with strong aiming accuracy. If your aim isn’t quite there yet, Honeycomb reduces gadget cooldown by 15% and improves survivability, making it the smarter pick for average-precision players. Builds and star power recommendations are updated every season to stay aligned with the current meta.
Shield vs. Damage Gear: What Should Bea Run?
When choosing between Shield and Damage Gear for Bea, you’ll find that Shield’s 900-point regenerating buffer keeps you alive long enough to land charged shots in extended fights. If you’re playing aggressively or sitting below 50% health, Damage Gear’s 15% boost can turn close matchups in your favor. Most competitive players run both, letting you cover Bea’s fragility while maximizing her burst potential. Damage and speed are widely considered superior gear types by the community, making it worth evaluating whether Shield alone truly serves Bea’s kit in high-level play.
Shield Gear Defensive Benefits
Bea’s fragility makes the Shield Gear one of her most compelling defensive options, giving her 900 extra health right from spawn. You’ll benefit most from its regeneration system, which restores 45 health every half-second when she’s at full HP, completing a full cycle in 10 seconds.
The Shield Gear excels defensively through:
- Immediate protection — full shield available upon spawn, no delay required
- Sustained regeneration — continues restoring health during attacks and Super usage
- Buffer for close-range pressure — absorbs damage when enemies close the gap
- Early engagement survivability — shields Bea through critical first exchanges
- Recovery window support — pairs with strategic retreats between combat engagements
You’ll find this gear especially valuable in modes offering brief breathing room between fights.
Damage Gear Situational Value
While the Shield Gear earns its spot as Bea’s default defensive choice, the Damage Gear deserves a closer look before you dismiss it entirely. It delivers 15% extra damage once your HP drops below 50%, applying to both normal and special attacks. That sounds appealing, but Bea’s 5,600 HP pool makes that threshold dangerously easy to hit and nearly impossible to maintain safely.
You’re fundamentally asking a Defense 2 marksman to operate at half health consistently, which directly contradicts sound positioning principles. The Shield Gear’s 39.2% access rate versus Damage Gear’s 34.8% reflects that community reality. Unless your playstyle naturally keeps you at low health, you’ll find the Shield Gear delivers more reliable value without forcing you into unnecessary risk.
Honey Molasses or Rattled Hive: Which Gadget Wins?
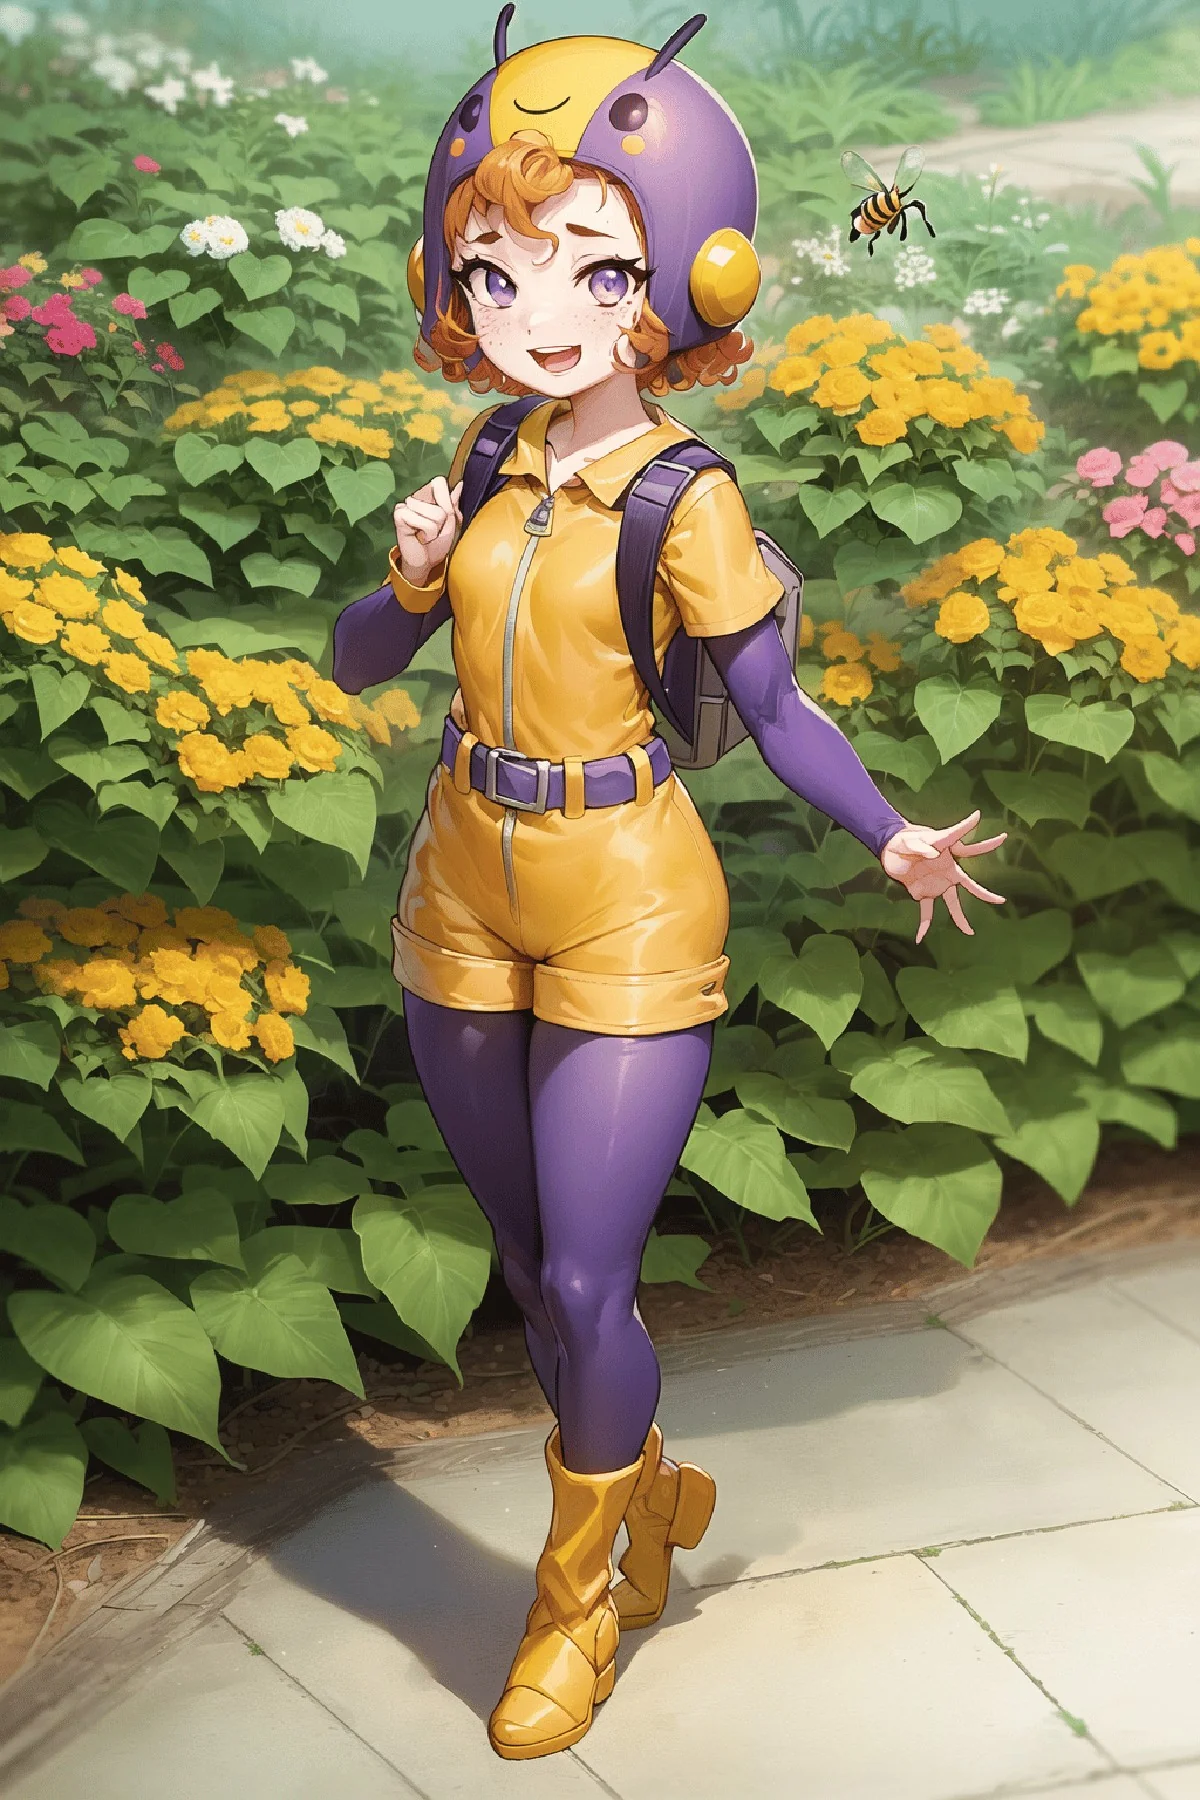
Choosing the right gadget can make or break your Bea gameplay, so let’s break down what Honey Molasses and Rattled Hive each bring to the table.
Honey Molasses deploys a beehive creating a 4-tile sticky puddle, slowing enemies by 350 points. It’s underrated for group control, escape situations, and chokepoint domination. Rattled Hive releases four bees dealing up to 1,200 damage, but post-rework it’s single-target only, limiting its value.
Here’s why Honey Molasses wins:
- Controls Hot Zone lanes and gem mines effectively
- Slows multiple enemies simultaneously, unlike Rattled Hive
- Protects itself when placed behind walls
- Pairs seamlessly with Bea’s super for consistent pressure
- Statistically chosen 51% of the time, confirming its preference
Rattled Hive still sees competitive play, but Honey Molasses provides broader, more consistent value across most game modes you’ll encounter.
Insta Beaload vs. Honeycomb: Which Star Power Wins?
When it comes to Bea’s star powers, the choice between Insta Beaload and Honeycomb depends almost entirely on your aim consistency and preferred playstyle. Insta Beaload instantly recharges your supercharged shot after a miss, giving you a second opportunity to land that critical hit. It holds a 56% ranked usage rate and a 58.0% win rate, making it statistically the stronger pick.
Honeycomb grants a 30% shield while your Big Sting is supercharged, letting you push closer to enemies and finish fights more aggressively. It pairs well with Damage and Shield Gears, boosting your overall survivability. Its win rate sits at 57.1%, only slightly behind Insta Beaload.
If you miss supercharged shots frequently, go with Insta Beaload. If your aim is reliable and you prefer aggressive, close-range pressure, Honeycomb rewards your playstyle better.
Best Game Modes and Maps for Bea
Bea thrives in several game modes, but her highest win rate comes from Last Stand, where her long-range precision and supercharged shot punish isolated targets effectively. Beyond that, she also performs well in Brawl Ball, Bounty, and Payload.
For maps, prioritize these high-performing options:
- Rustic Arcade – 67.2% win rate in Gem Grab
- Rooftop Runners – 66.7% win rate in Gem Grab
- Open Zone – 63.2% win rate in Hot Zone
- Spiraling Out – ideal Brawl Ball map for Bea
- Dueling Beetles – top-recommended Hot Zone map
You’ll want to favor open, long-range layouts where Bea’s charged shot controls space and zones out enemies. Equip Vision Gear on grassy maps and use Hypercharge on open areas to extend your Super’s reach. Avoid enclosed maps where short-range brawlers can close the gap before you recover your charged shot.
How to Position and Play Bea in Every Game Mode

Mastering Bea’s positioning is the difference between dominating from a distance and getting erased before your charged shot even reloads. Keep distance from enemies at all times, stay behind walls, and avoid large bushes where assassins lurk. Pair with close-range protectors to cover your vulnerability.
In Gem Grab, hold the backline, snipe gem carriers, and use your Super to slow collectors. In Showdown, circle the edges early, grab power cubes safely, and kite assassins using terrain. In Heist, station at the perimeter, poke the enemy safe consistently, and save Supers for direct damage bursts while slowing incoming attackers.
In Brawl Ball, cover teammates from elevated spots. In Hot Zone, control edges with area-denial Supers. In Knockout, zone open maps using your range advantage. Across every mode, prioritize damaged targets, keep sightlines open, and never cluster with teammates unnecessarily.
Frequently Asked Questions
What Is Bea’s Rarity and How Do You Unlock Her?
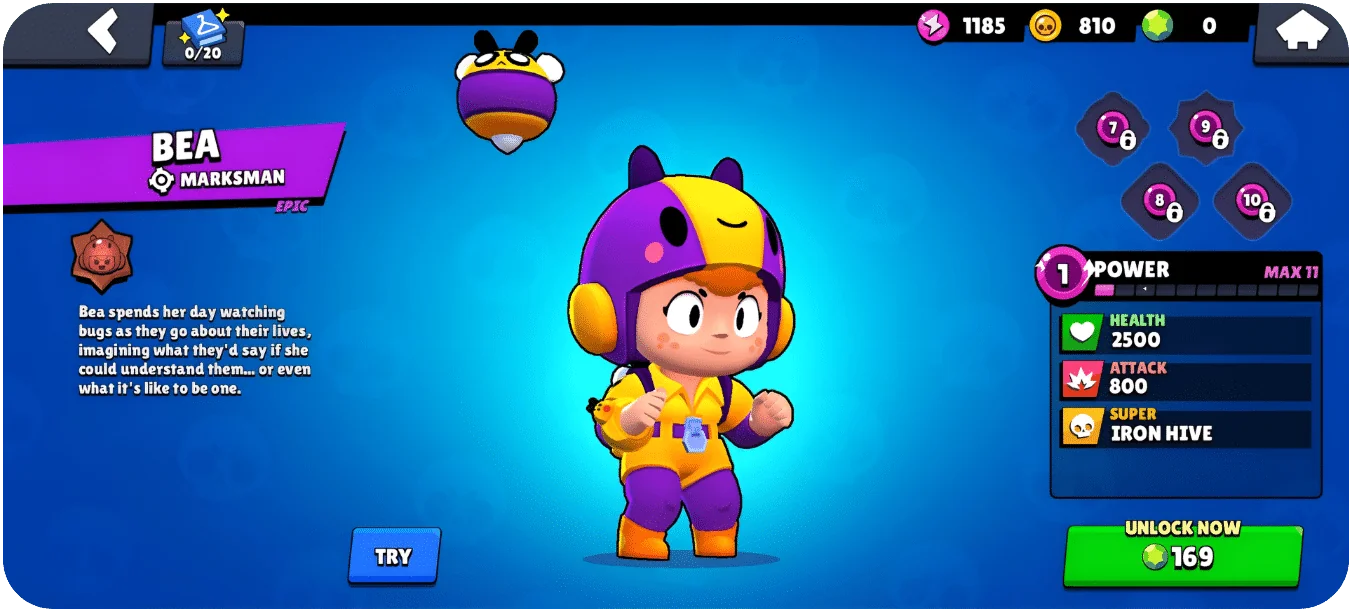
Bea’s an Epic rarity Brawler. You can access her through the Brawl Pass, Mastery system, Starr Road progression, direct gem purchase in the Brawl Shop, or from Epic Brawler pools in random boxes and challenges.
How Does Bea Perform in the Current Meta Against Top Brawlers?
You’ll find Bea holds a solid B-tier spot, but she struggles against aggro brawlers like Spike and high-mobility threats. She’s effective against tanks using her range advantage, though she’s vulnerable to close-range rushes.
What Are Bea’s Base Health and Damage Statistics in 2026?
You’ll find Bea’s base health sits at 5,600 at max level, while her base damage reaches 1,600. Both stats scale up 10% per Power Level since the 05/09/23 update, boosting her overall combat effectiveness.
Is Bea a Good Choice for Beginner Players Starting Out?
Bea’s a decent pick for beginners if you use the right build. Equip Rattled Hive, Insta Beaload, and Shield and Damage gears, then stay in the backline with teammates protecting you.
How Does Bea’s Super Ability Work and When Should You Use It?
Bea’s super releases seven bee drones in a straight line, slowing enemies on hit. You should use it in choke points, on grouped enemies, or immediately upon charge to restart the recharge cycle faster.
Conclusion
You’ve now got everything you need to dominate with Bea in 2026. You know her mechanics, her best build, and how to position yourself across every game mode. Start by mastering her charged shot timing — that’s where Bea’s real power lives. Pick the right gadget and star power for your playstyle, and you’ll consistently outrange and outplay opponents. Now get out there and let your shots hit hard.
